Google Earth Engine Service Account
Last Updated: July 2024
Up to this point, you've been using your personal Google account to authenticate with Google Earth Engine (see: 1. Handle GEE Authentication). However, when you run an app that uses Google Earth Engine in a production environment, you will not want it to be using your personal credentials. Instead you will use a service account, which is an account associated with an application instead of a user.
This tutorial requires you to already have a service account registered with Google Earth Engine. If you do not already have a service account, follow the instructions here: How do I create a service account?. It may take several days for your registration application to be reviewed and approved.
The following topics are covered in this tutorial:
Create Google Service Account Keys
Use Service Account for Google Earth Engine Operations
0. Start From Previous Solution (Optional)
If you wish to use the previous solution as a starting point:
git clone https://github.com/tethysplatform/tethysapp-earth_engine
cd tethysapp-earth_engine
git checkout -b rest-api-solution rest-api-solution-4.5
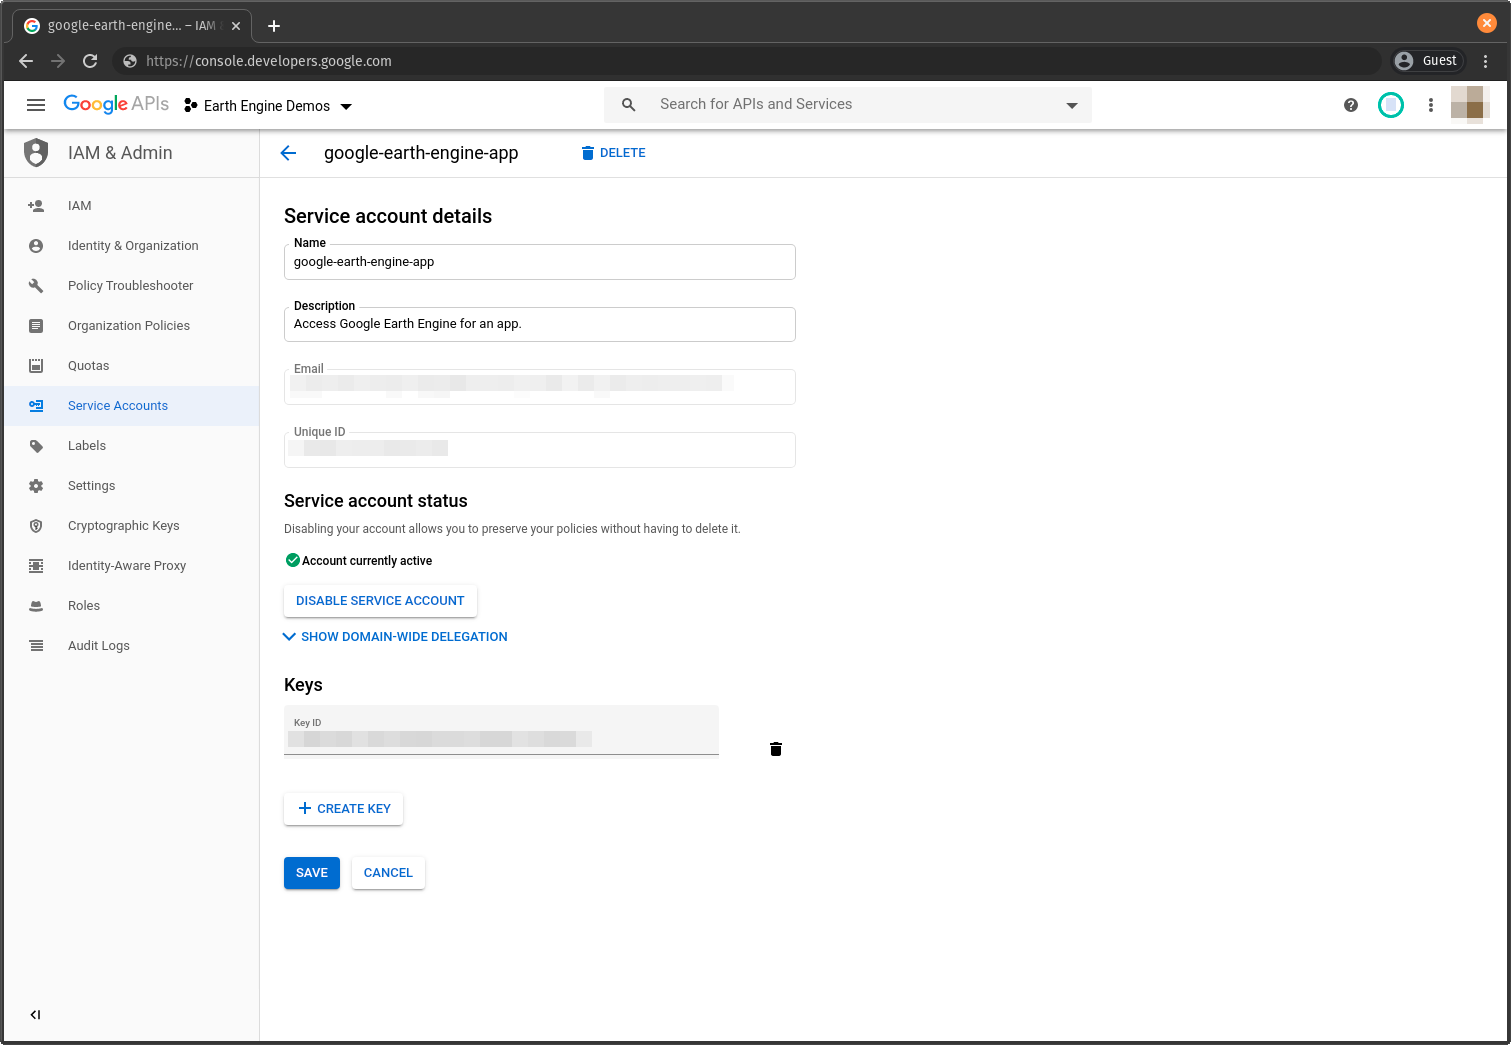
1. Create Service Account Key
After you have setup your service account, you will need to create a key that the app can use to authenticate with Google Earth Engine.
Navigate to https://console.developers.google.com/.
Open the project that contains your Google Earth Engine Service Account using the drop-down menu located to the right of "Google APIs" in the header of the page.
Select Credentials from the left-hand navigation menu.
Click on the email or edit button of the service account you registered to see the account details.
Select the KEYS tab.
Press the Add Key button and select Create new key.
Select JSON and press CREATE.
Locate the file that was downloaded and place it in a secure location.
Note
The only copy of the key you generated is contained in the file that was downloaded. You cannot download it again. If you lose the file, repeat the process to generate a new key and delete the old one.
2. Configure App to Use Service Account
The app needs to be configured to use the service account key that you downloaded in the previous step. Fortunately, the code is already in place to handle service accounts. You simply need to add your credentials to the gee/params.py file.
Open the key file you downloaded in the previous step.
Copy the
client_emailvalue from the key file into theservice_accountvariable ofgee/params.py.Enter the path to the key file in the
private_keyvariable ofgee/params.py.
Note
As mentioned above, the logic is already in place to handle the service account. This is located at the top of gee/methods.py:
if gee_account.service_account:
    try:
        credentials = ee.ServiceAccountCredentials(gee_account.service_account, gee_account.private_key)
        ee.Initialize(credentials)
    except EEException as e:
        print(str(e))
else:
    try:
        ee.Initialize()
    except EEException as e:
        from oauth2client.service_account import ServiceAccountCredentials
        credentials = ServiceAccountCredentials.from_p12_keyfile(
            service_account_email='',
            filename='',
            private_key_password='notasecret',
            scopes=ee.oauth.SCOPE + ' https://www.googleapis.com/auth/drive '
        )
        ee.Initialize(credentials)
Until now, the app has not had service account credentials, so it has been using the logic in the else clause of the conditional statement.
Note
Please make sure you are using the latest version of the earthengine-api when authenticating with your service account for the first time. Using an old version in the first authetication can cause a 404 error. After the initial authetication older version of the earthengine-api can be used.
3. Update Finding Asset Directories
You'll also need to update the get_asset_dir_for_user function in the methods.py file:
def get_asset_dir_for_user(user):
    """
    Get a unique asset directory for given user.

    Args:
        user (django.contrib.auth.User): the request user.

    Returns:
        str: asset directory path for given user.
    """
    if gee_account.service_account and credentials:
        service_account_project_id = credentials._project_id
        asset_roots = ee.data.listAssets({'parent': f'projects/{service_account_project_id}/assets'}).get('assets', [])
        if len(asset_roots) == 0:
            asset_path = f"projects/{service_account_project_id}/assets/tethys"
            ee.batch.data.createAsset({
                'type': 'Folder',
                'name': asset_path
            })

            asset_roots = ee.data.listAssets({'parent': f'projects/{service_account_project_id}/assets/'}).get('assets', [])

    else:
        raise NameError("""Variable service_account_project_id was not assigned.
                        Make sure your service account credentials are set up properly.""")

    # Prepare asset directory paths
    asset_root_dir = asset_roots[0]['id']
    ...
4. Test App Functionality with Service Account
Navigate to http://localhost:8000/apps/earth-engine/viewer/ and verify the following:
Load several datasets and ensure the imagery is displayed on the map.
Test the Plot Area of Interest capability.
Upload a boundary shapefile and verify that the imagery is clipped to the extents of that boundary.
Note
You will not be able to debug or monitor the status of tasks submitted by the service account through the Google Earth Engine Code Editor, because it is a separate account from your account.