Configure Map Layout
Last Updated: July 2024
In this tutorial you will configure your Tethys app with the Map Layout. This feature of Tethys was designed to further streamline the creation of web applications that use common web mapping tools, such as a web map and its commonly expected functionality, such as feature display and interaction via clicking and plotting. To learn more about the MapLayout see Map Layout.
0. Start From Previous Solution (Optional)
If you wish to use the previous solution as a starting point, do the following:
1. Clone the tutorial and switch to the appropriate branch .. parsed-literal:
git clone https://github.com/tethysplatform/tethysapp-map_layout_tutorial
cd tethysapp-map_layout_tutorial
git checkout -b new-app-project-solution new-app-project-solution-|version|
1. Swap default home controller with Map Layout
When you scaffold a new app, by default the controllers.py script contains a home function that controls the backend logic for the home screen of your app. It is of course possible to add a Map View and other map tools using Tethys Gizmos, but since we know we want a single-page web mapping application with very common web mapping features, we can instead configure the Tethys Map Layout.
This can be done by replacing the entire controller.py with the following code:
from tethys_sdk.layouts import MapLayout
from tethys_sdk.routing import controller
from .app import App
@controller(name="home", app_workspace=True)
class MapLayoutTutorialMap(MapLayout):
app = App
base_template = f'{App.package}/base.html'
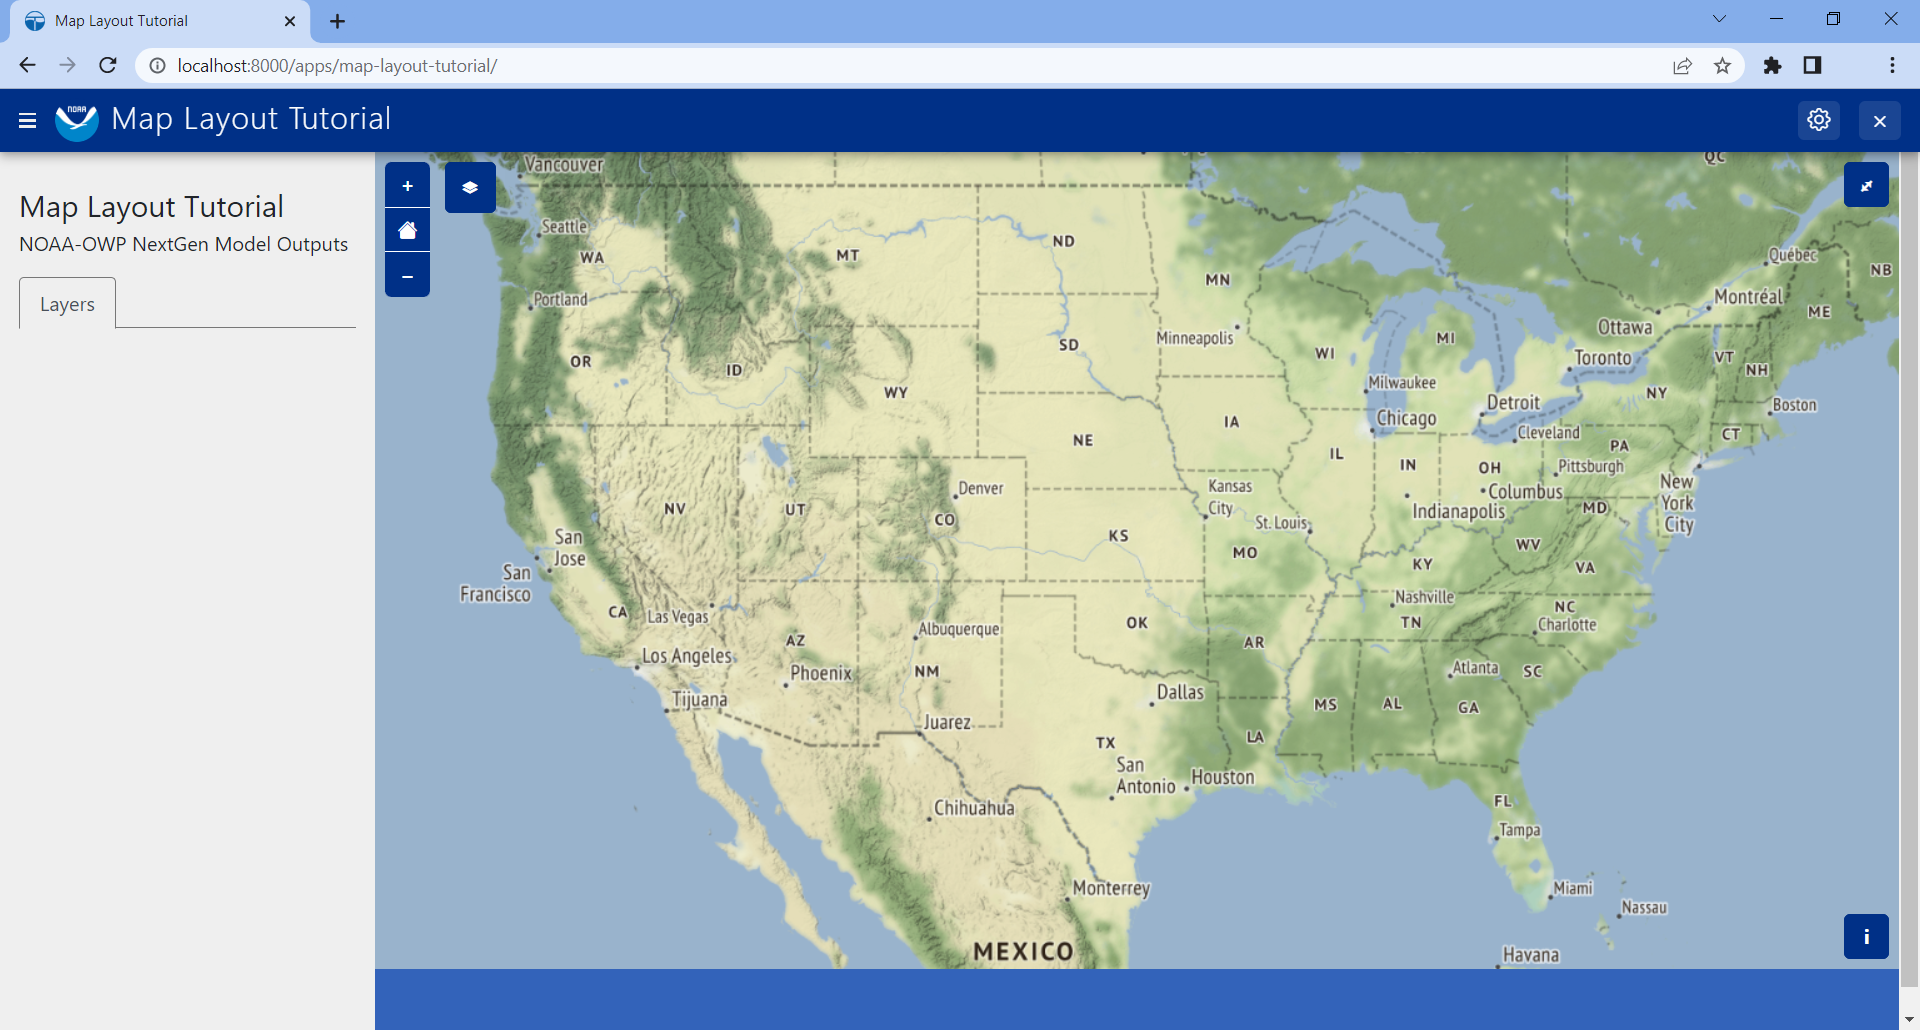
map_title = 'Map Layout Tutorial'
map_subtitle = 'NOAA-OWP NextGen Model Outputs'
It is that simple! Return to your app in the browser (http://localhost:8000/apps/map-layout-tutorial/), refresh if needed, and confirm the change. It should look like the screenshot at the top of this section.
With just under a dozen lines of code, you now have a fully interactive map with extent controls, basemap layer change, full screen mode, and a layers panel.
We will learn how to further customize the Map Layout and add our sample NextGen data in the next sections.
4. Solution
This concludes the Configure Map Layout portion of the Map Layout Tutorial. You can view the solution on GitHub at https://github.com/tethysplatform/tethysapp-map_layout_tutorial/tree/configure-map-layout-solution or clone it as follows:
git clone https://github.com/tethysplatform/tethysapp-map_layout_tutorial
cd tethysapp-map_layout_tutorial
git checkout -b configure-map-layout-solution configure-map-layout-solution-4.5