The final step required to setup your Tethys Platform is to link it to the software that is running in the Docker containers. This is done using the Tethys Portal Admin console.
1. Access Tethys Portal Admin Console
The Tethys Portal Admin Console is only accessible to users with administrator rights. When you installed Tethys Platform, you created superuser. Use these credentials to log in for the first time.
Tip
When installing Tethys with the installation script the superuser credentials would have been specified with the -S or --superuser and the -P or --superuser-pass options. If you did not specify these options then the default username and password is admin and pass.
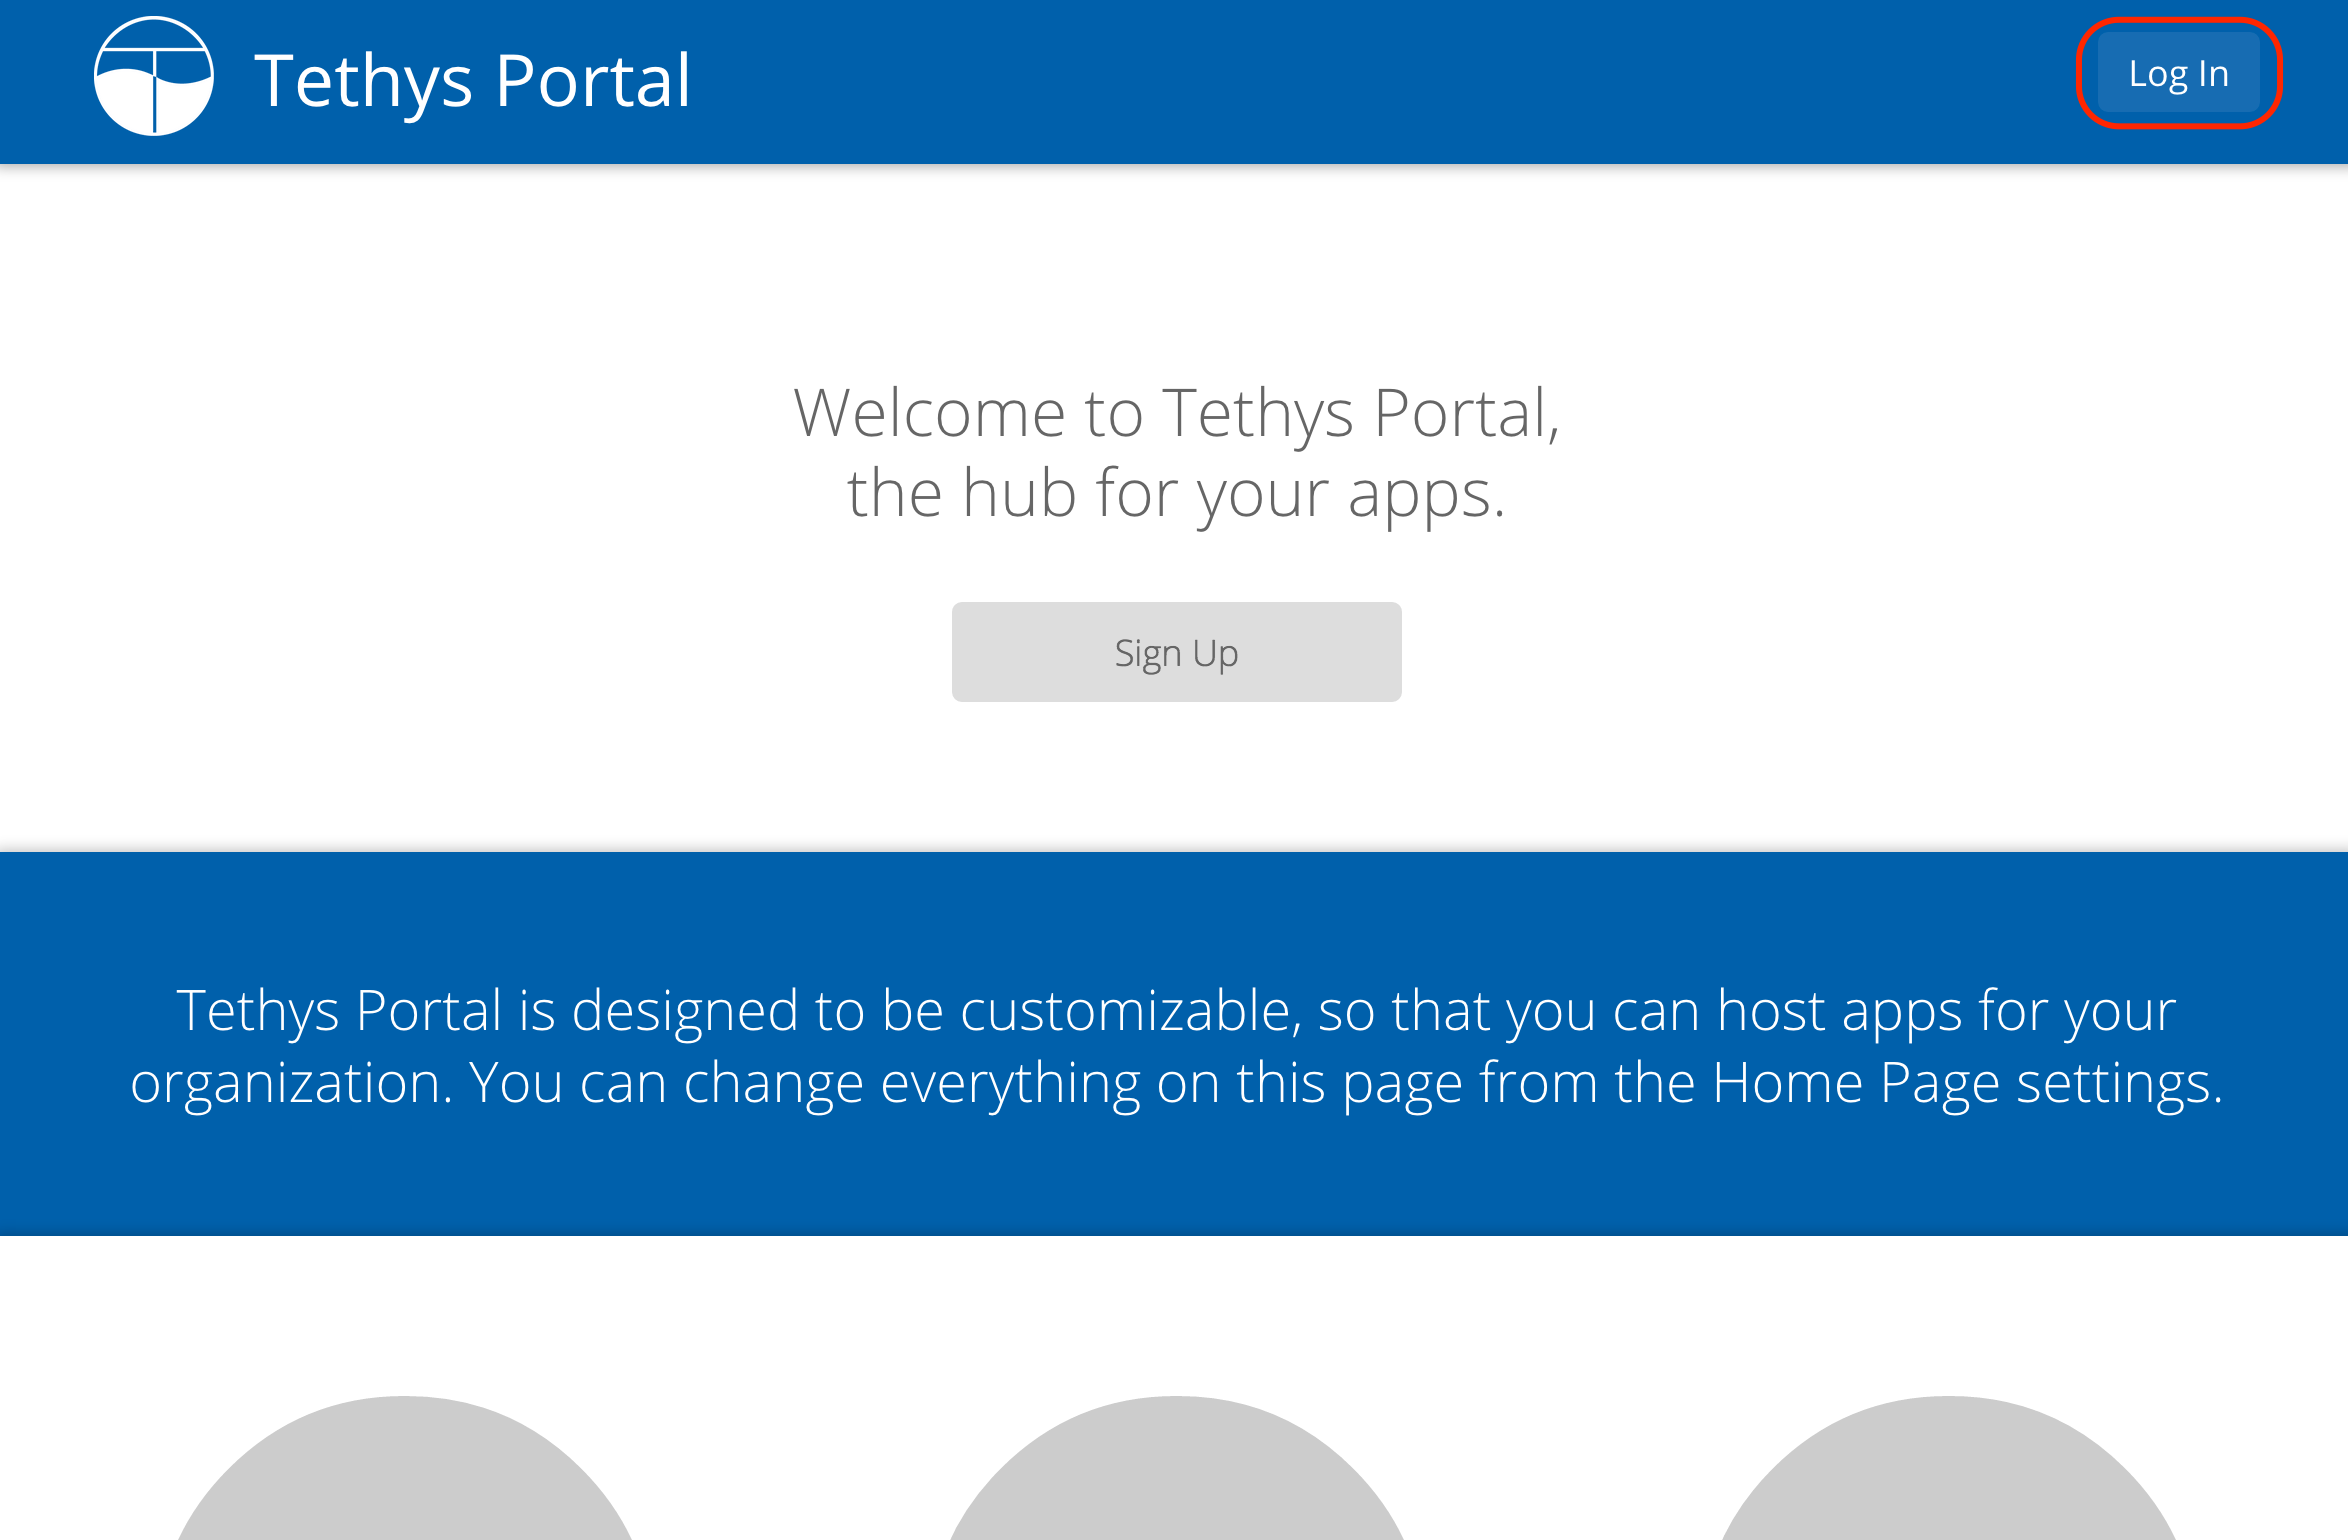
Use the "Log In" link on the Tethys Portal homepage to log in as an administrator.
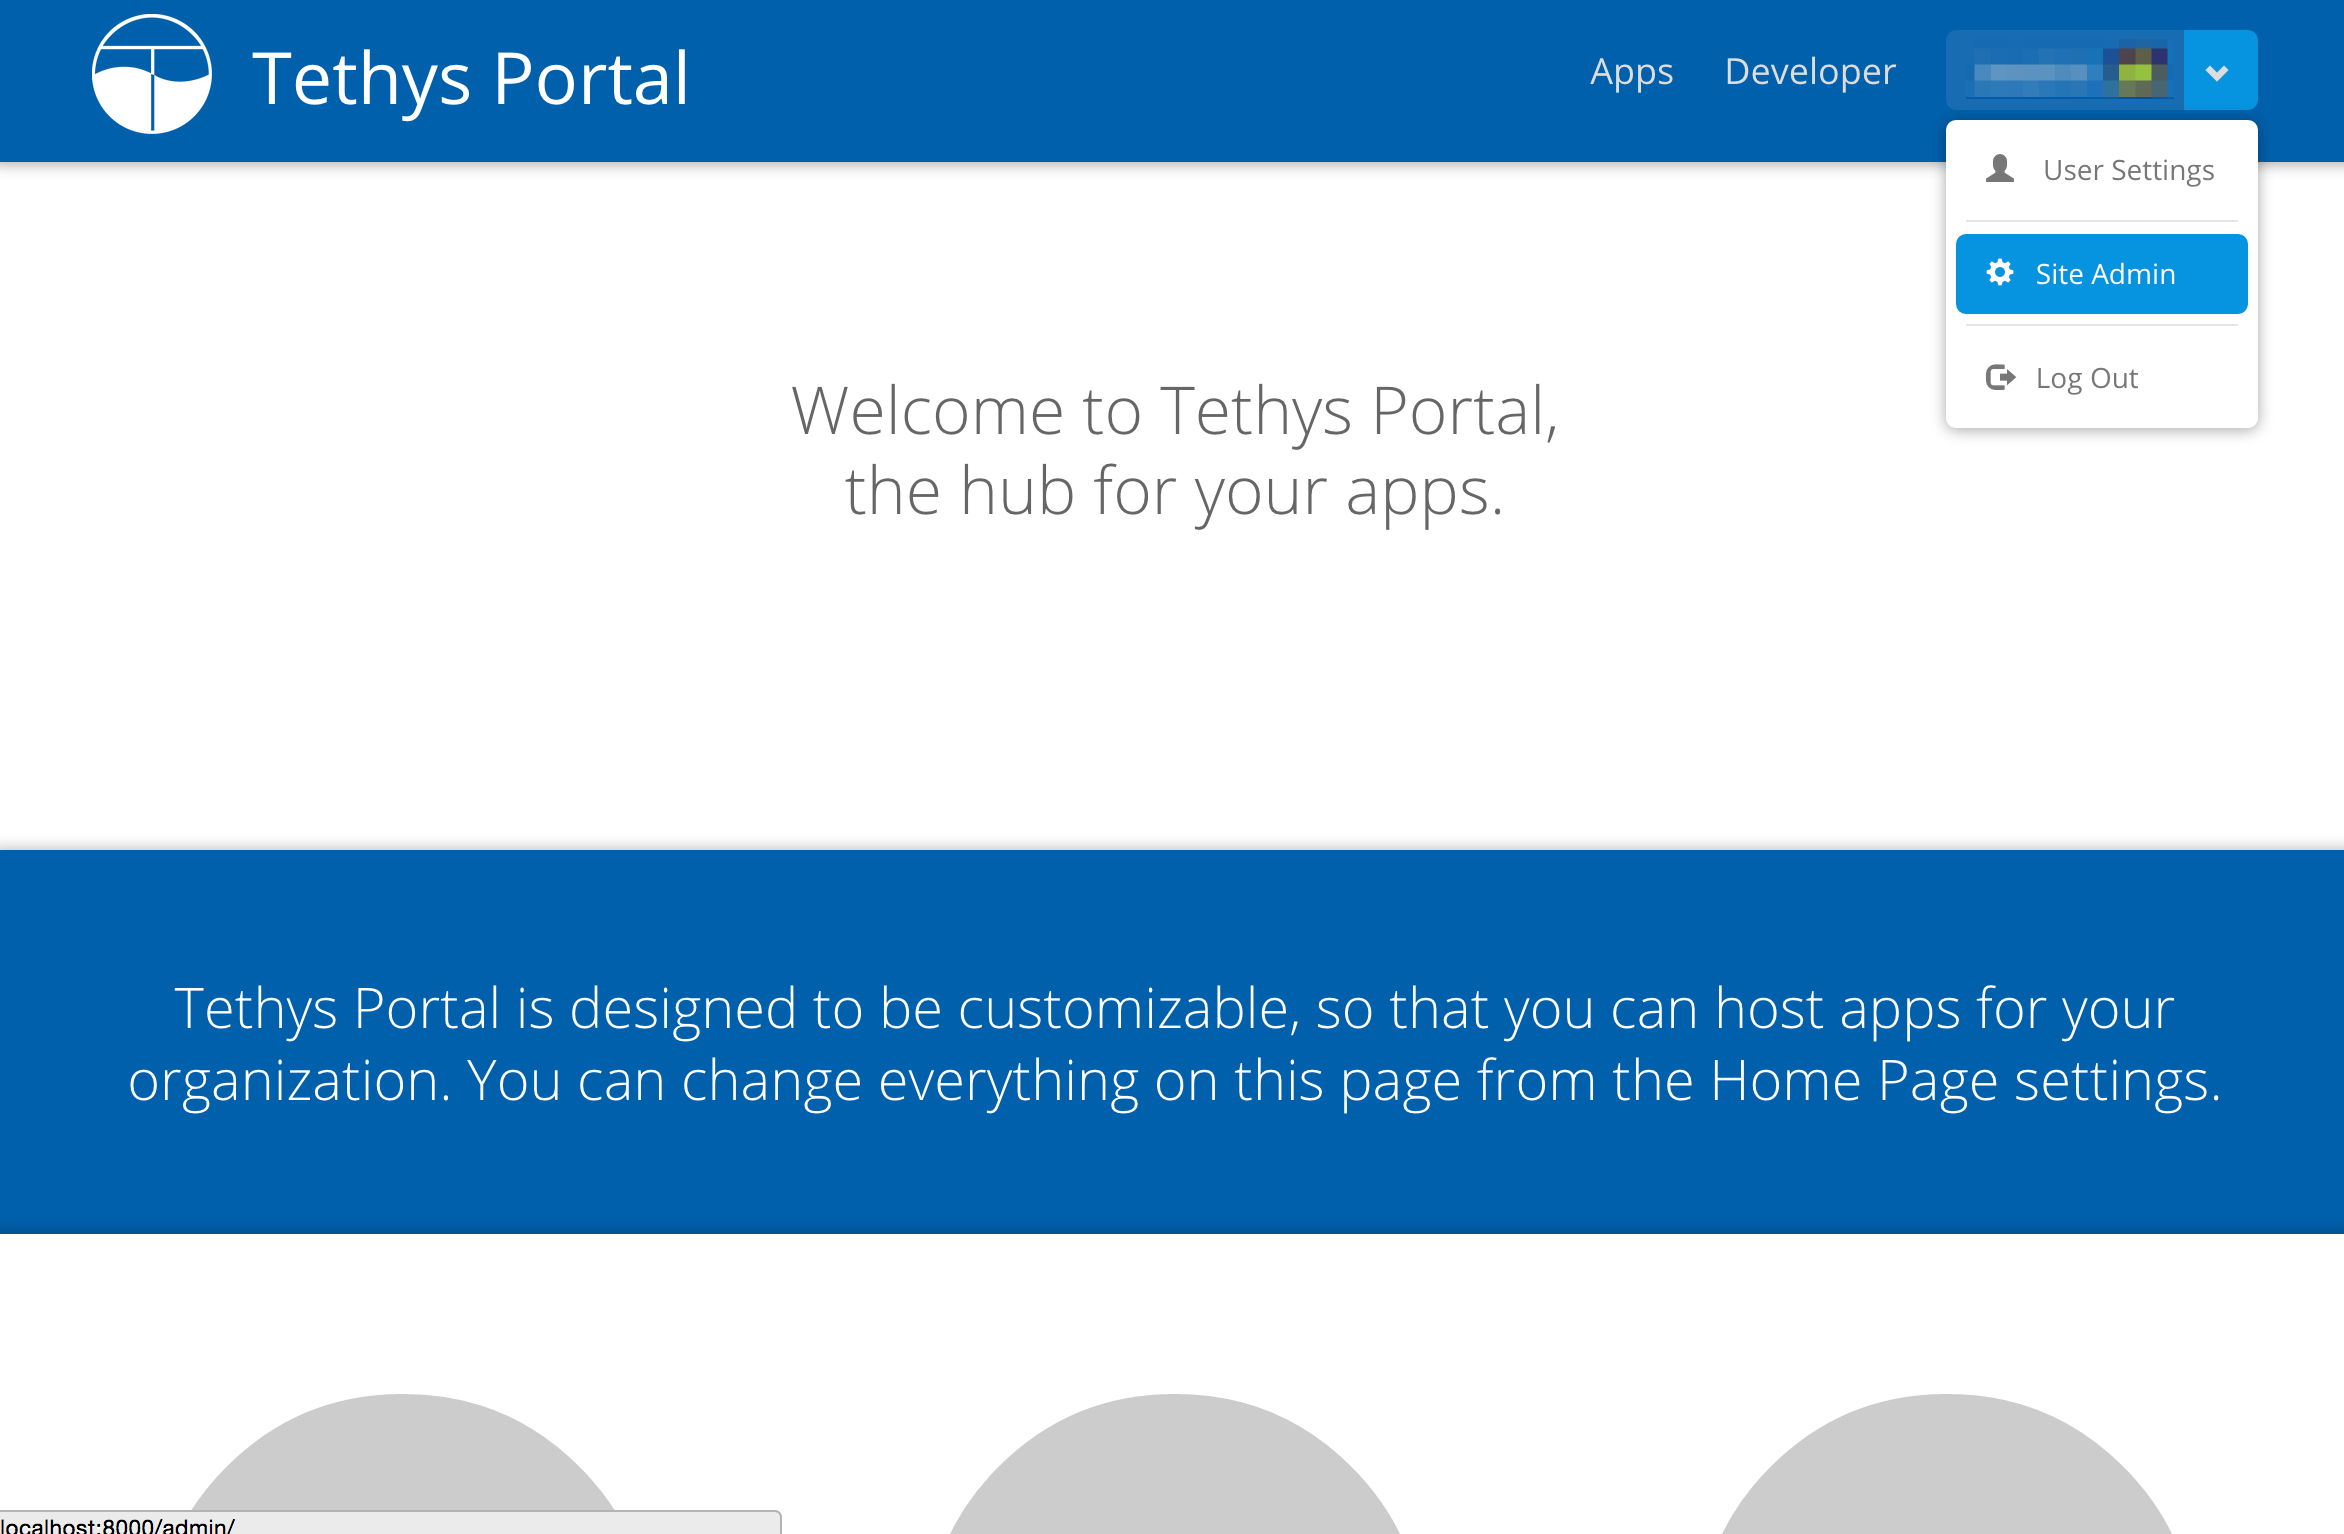
Select "Site Admin" from the user drop down menu.
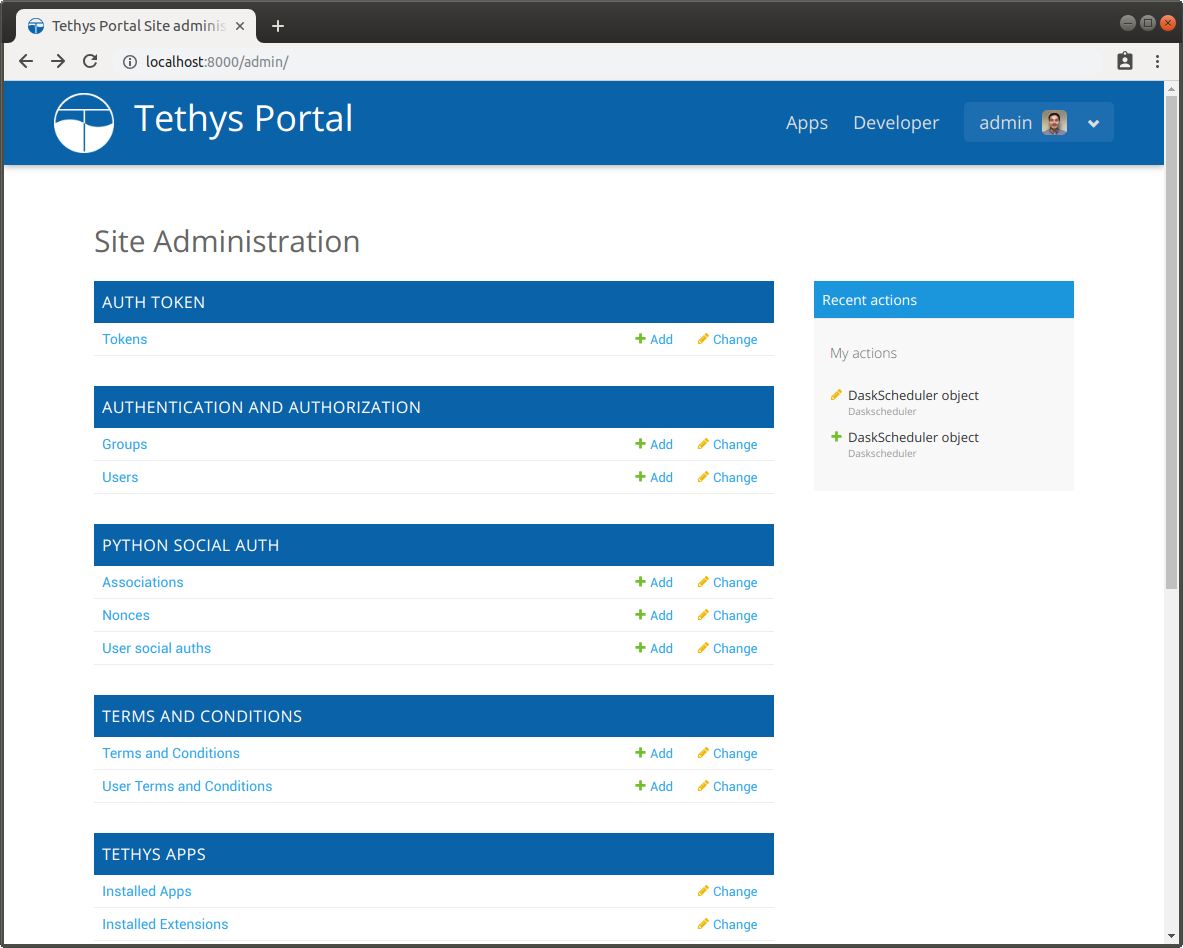
You will now see the Tethys Portal Web Admin Console. The Web Admin console can be used to manage user accounts, customize the homepage of your Tethys Portal, and configure the software included in Tethys Platform. Take a moment to familiarize yourself with the different options that are available in the Web Admin.
2. Link to 52 North WPS Docker
The built in 52 North Web Processing Service (WPS) is provided as one mechanism for Geoprocessing in apps. It exposes the GRASS GIS and Sextante geoprocessing libraries as web services. See Web Processing Services API documentation for more details about how to use 52 North WPS processing in apps. Complete the following steps to link Tethys with the 52 North WPS:
Select "Web Processing Services" from the options listed on the Tethys Portal Admin Console.
Click on the "Add Web Processing Service" button to create a new link to the web processing service.
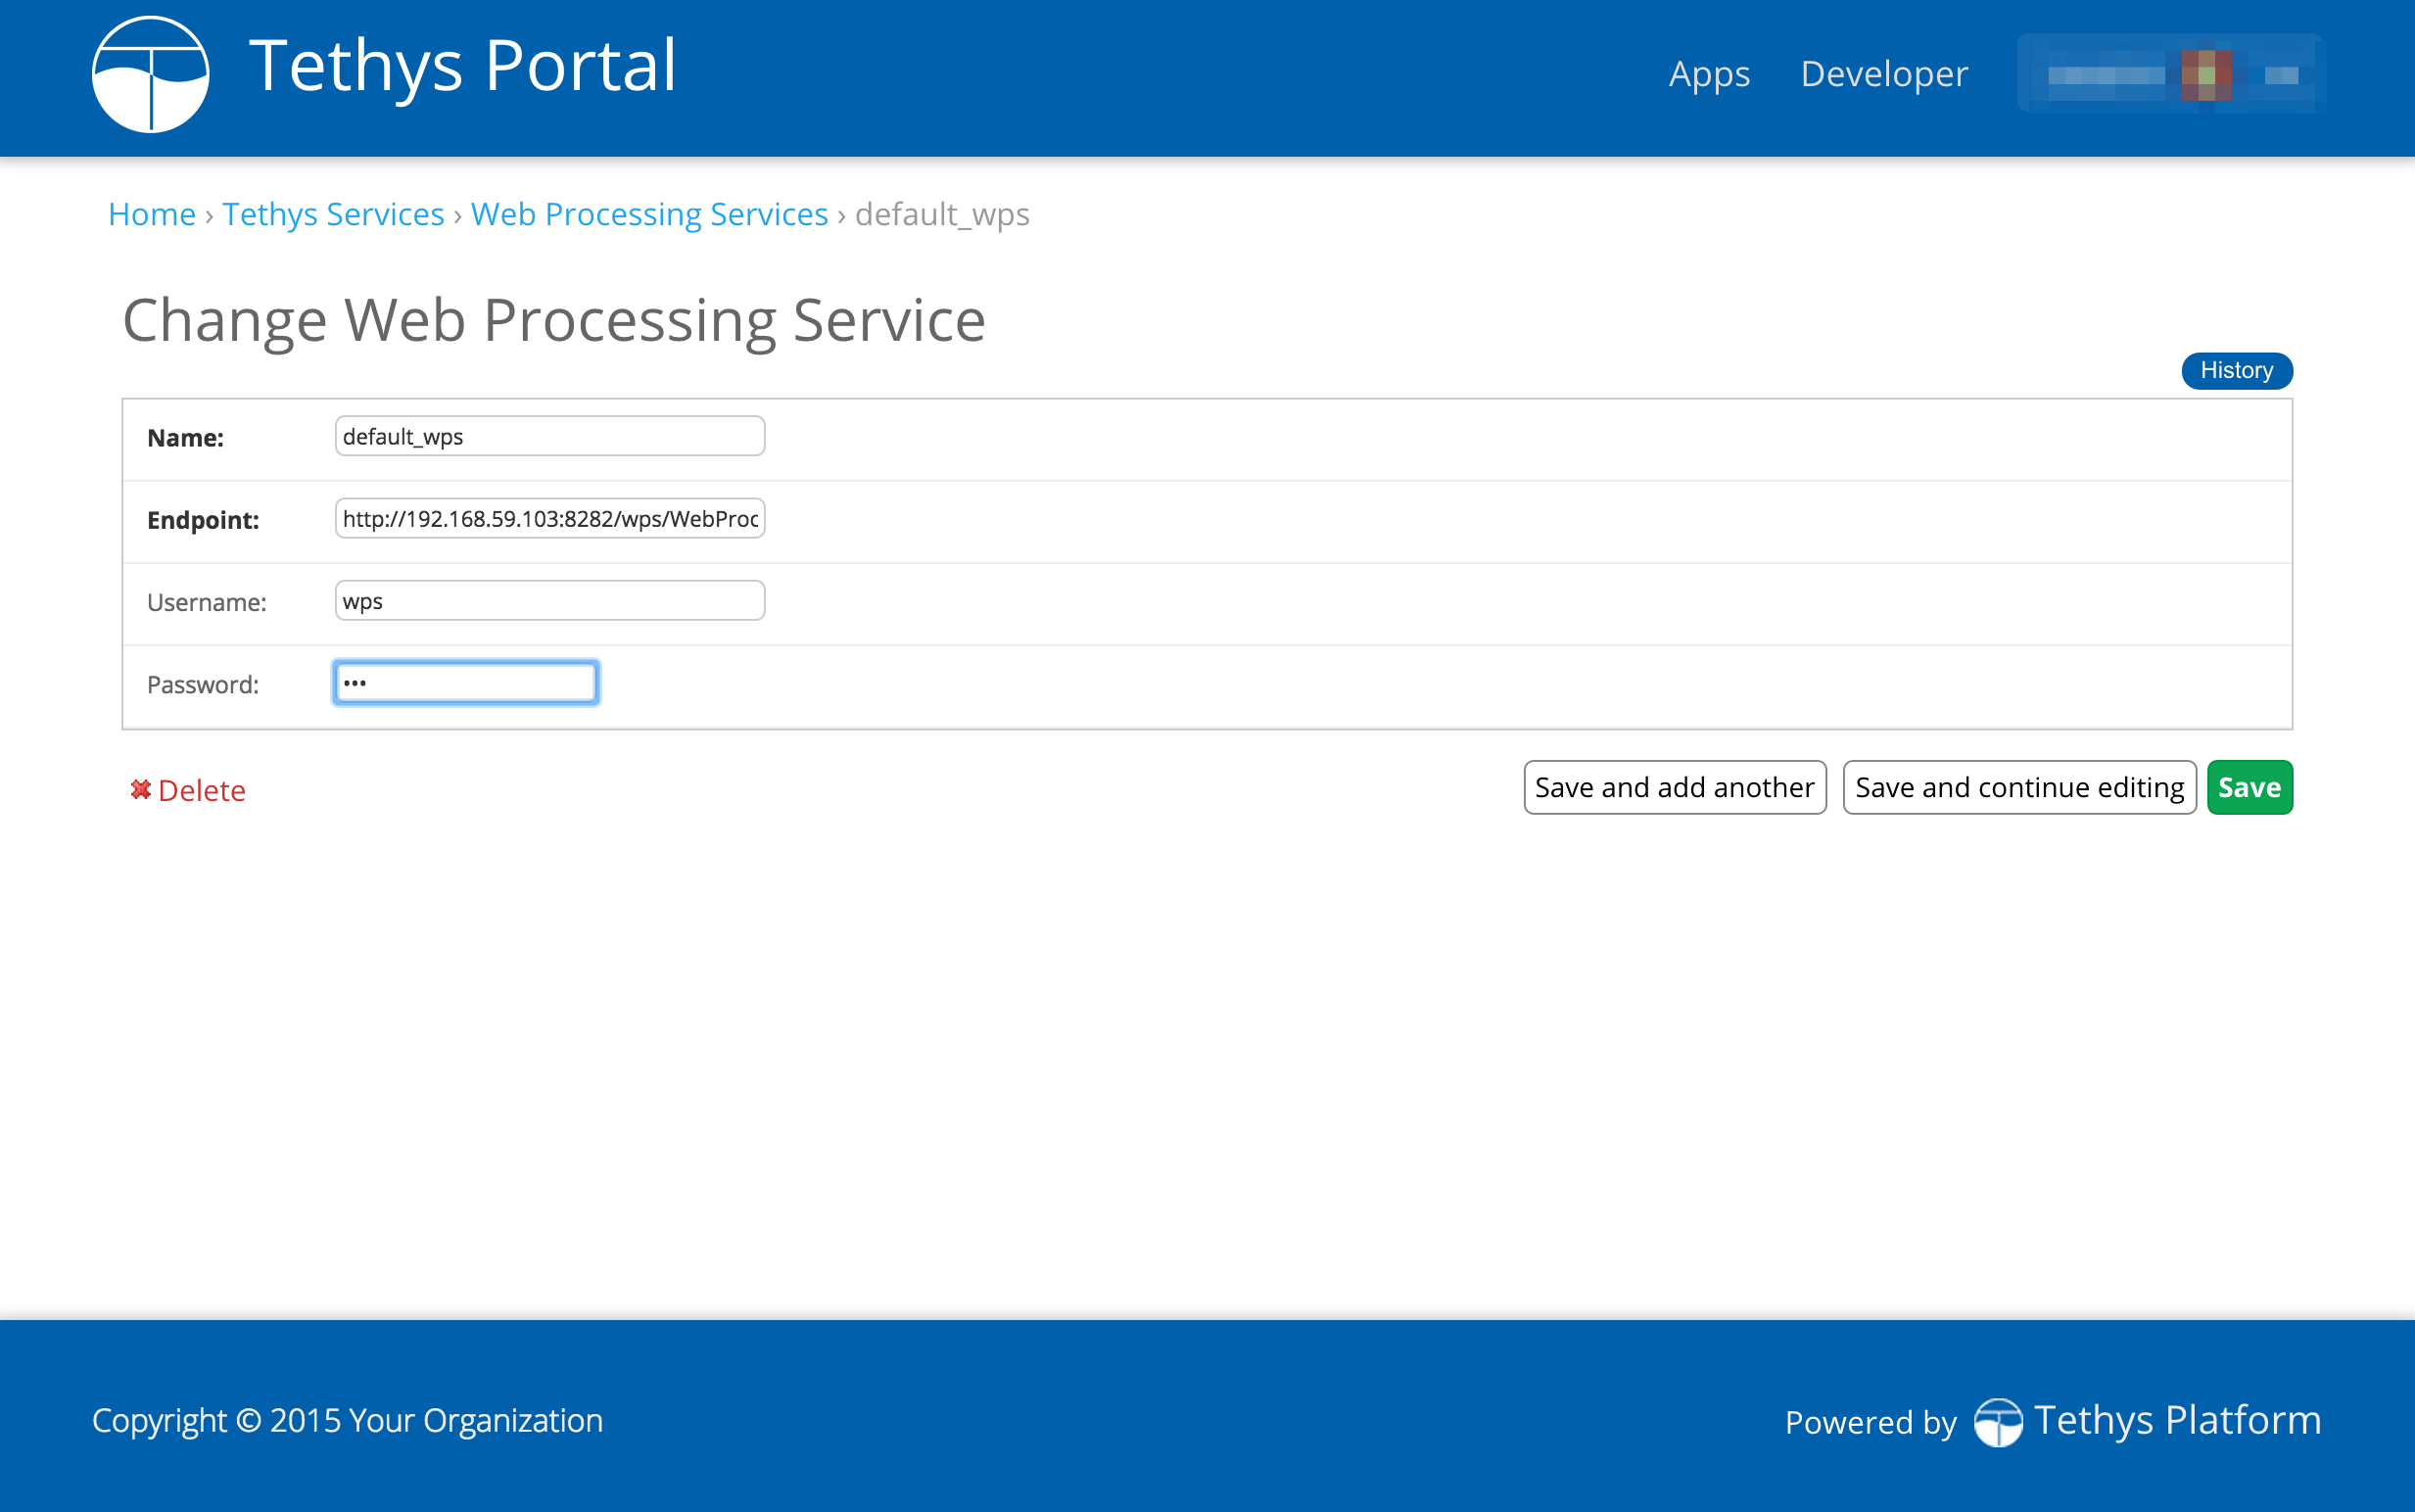
Provide a unique name for the web processing service.
Provide an endpoint to the 52 North WPS that is running in Docker. The endpoint is a URL pointing to the WPS API. The endpoint will be of the form:
http://<host>:<port>/wps/WebProcessingService
Execute the following command in the terminal to determine the endpoint for the built-in 52 North server:
When you are done you will have something similar to this:
Press "Save" to save the WPS configuration.
3. Link to GeoServer
Tethys Platform provides GeoServer as a built-in Spatial Dataset Service. Spatial Dataset Services can be used by apps to publish Shapefiles and other spatial files as web resources. See Spatial Dataset Services API documentation for how to use Spatial Dataset Services in apps. To link your Tethys Platform to the built-in GeoServer or an external Spatial Dataset Service, complete the following steps:
Select "Spatial Dataset Services" from the options listed on the Tethys Portal Admin Console.
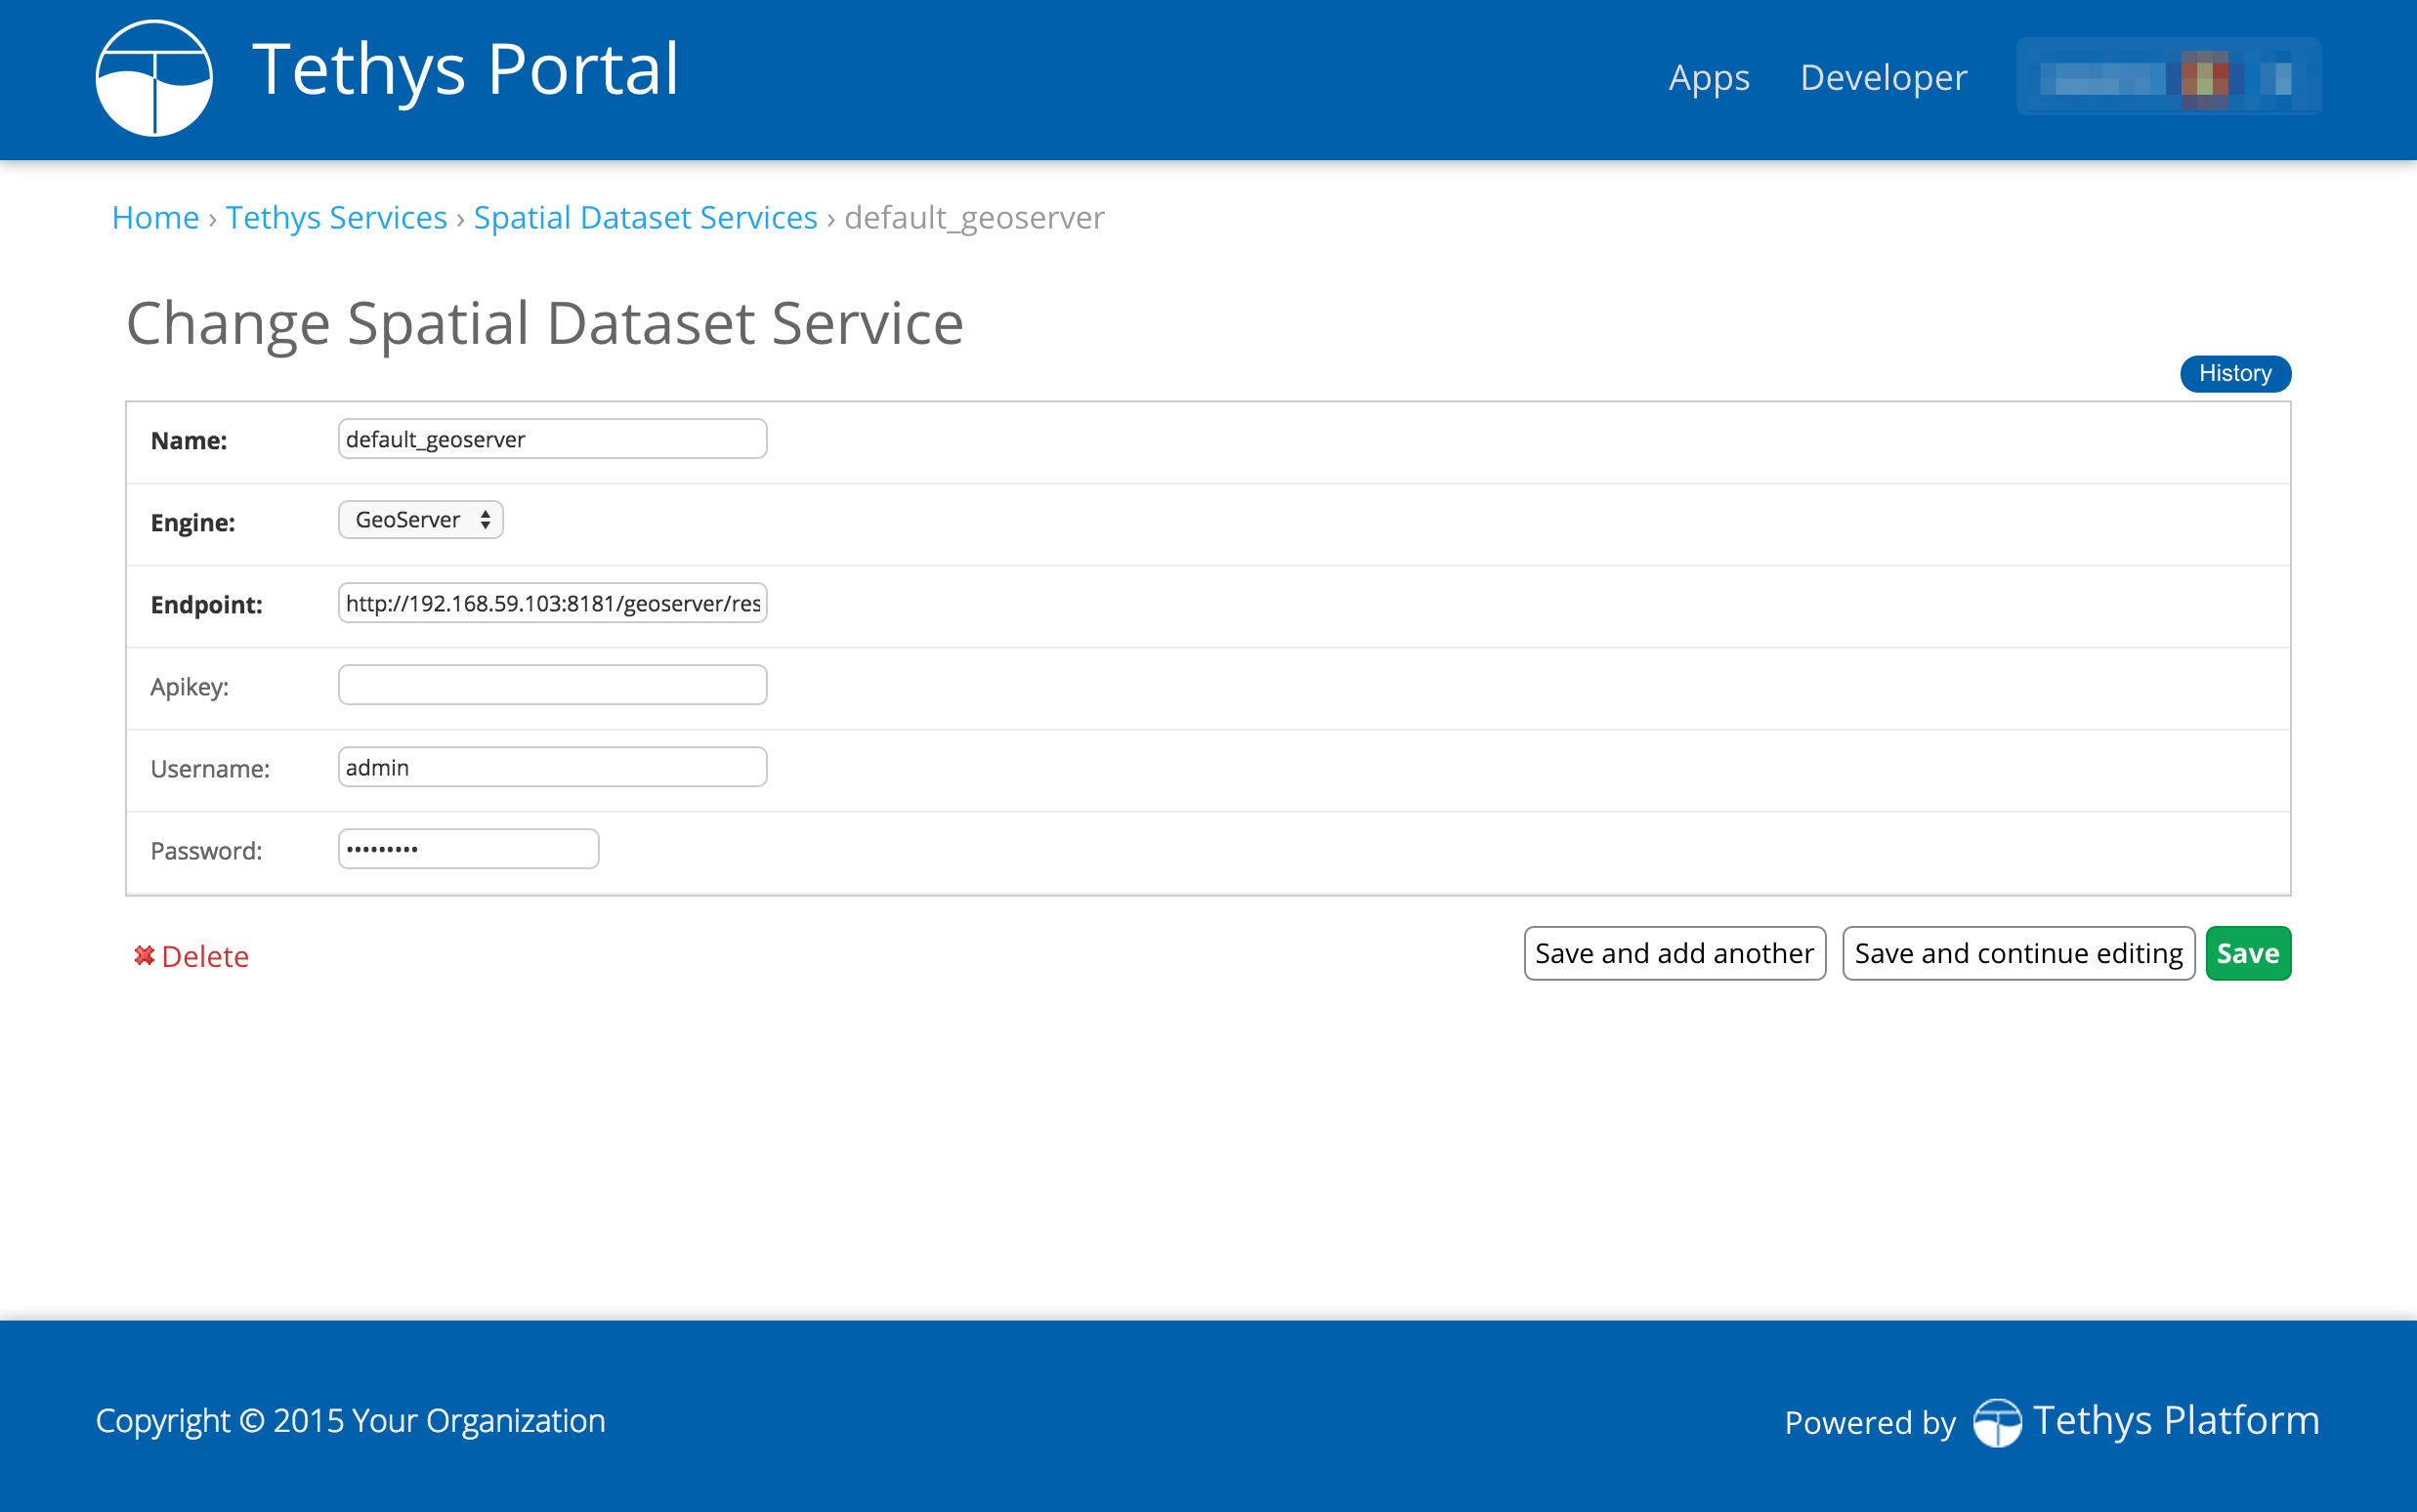
Click on the "Add Spatial Dataset Service" button to create a new spatial dataset service.
Provide a unique name for the spatial dataset service.
Select "GeoServer" as the engine and provide an endpoint to the Spatial Dataset Service. The endpoint is a URL pointing to the API of the Spatial Dataset Service. For GeoServers, this endpoint is of the form:
http://<host>:<port>/geoserver/rest
Execute the following command in the terminal to determine the endpoint for the built-in GeoServer:
Specify either the username or password of your GeoServer as well. The default GeoServer username and password are "admin" and "geoserver", respectively. When you are done you will have something similar to this:
Press "Save" to save the Spatial Dataset Service configuration.
4. Link to Dataset Services
Optionally, you may wish to link to external Dataset Services such as CKAN and HydroShare. Dataset Services can be used by apps as data stores and data sources. See Dataset Services API documentation for how to use Dataset Services in apps. Complete the following steps for each dataset service you wish to link to:
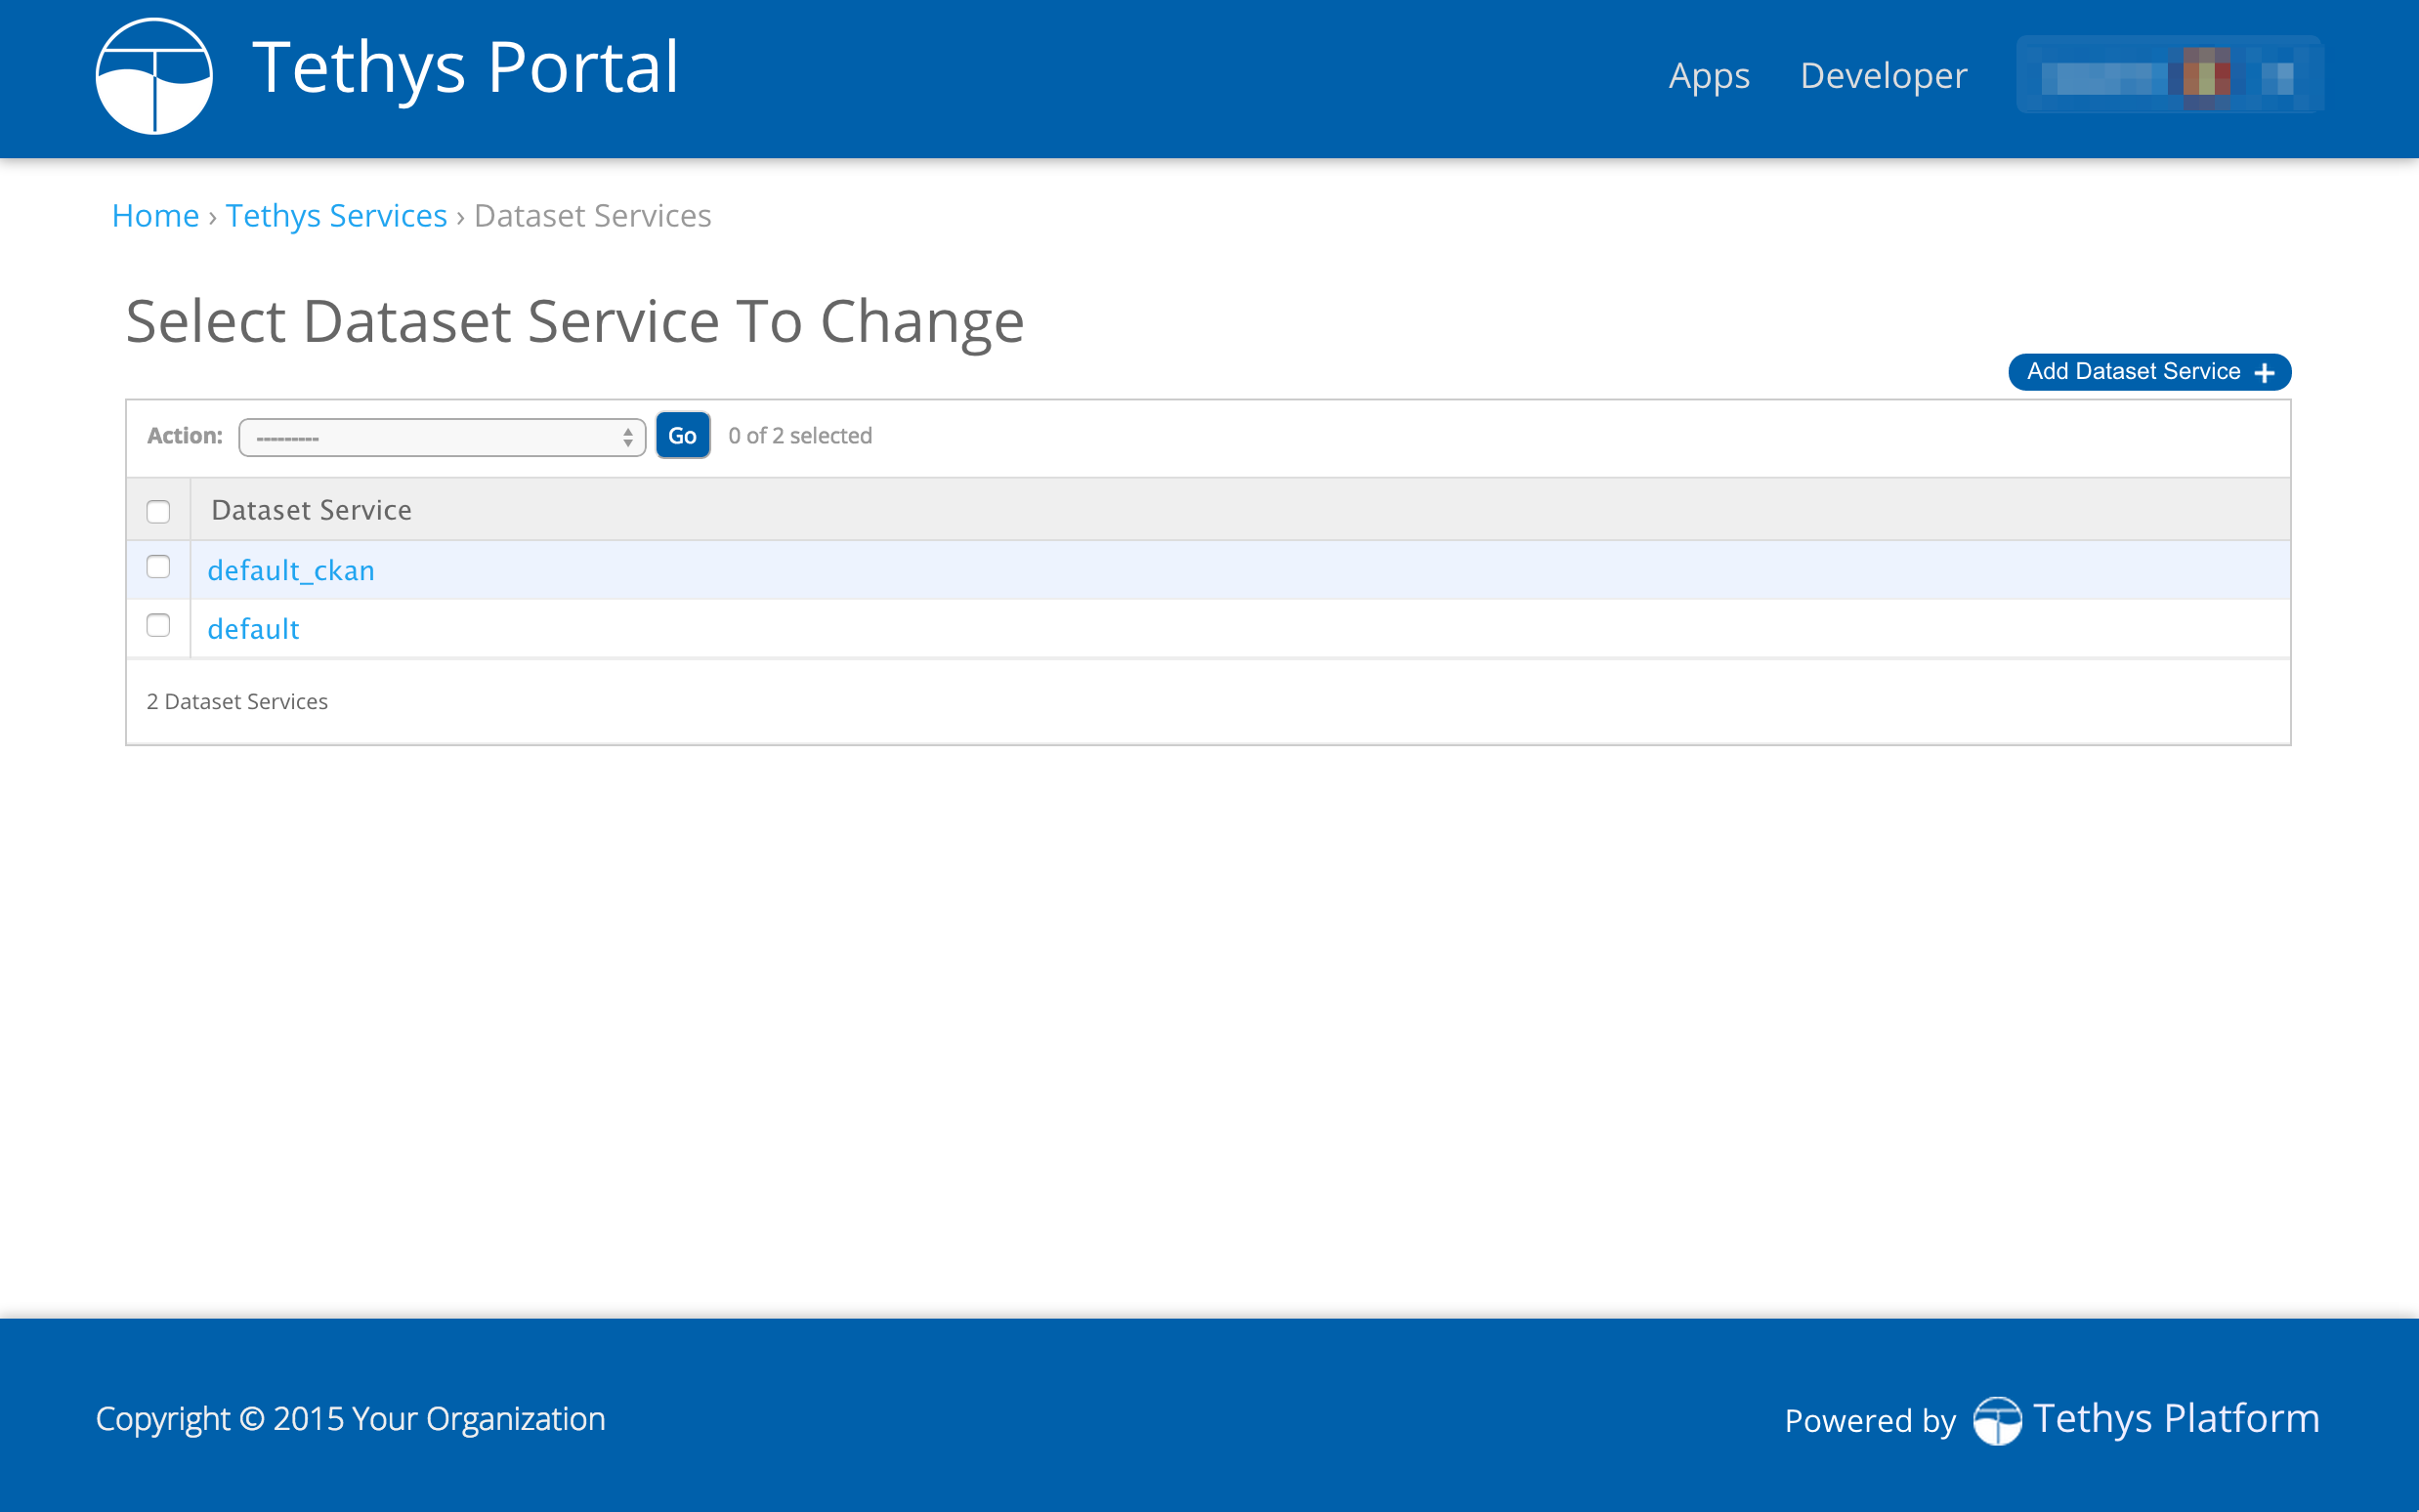
Select "Dataset Services" from the options listed on the Tethys Portal Admin Console.
Click on the "Add Dataset Service" button to create a new link to the dataset service.
Provide a unique name for the dataset service.
Select the appropriate engine and provide an endpoint to the Dataset Service. The endpoint is a URL pointing to the dataset service API. For example, the endpoint for a CKAN dataset service would be of the form
http://<host>:<port>/api/3/action
If authentication is required, specify either the API Key or username or password as well. When you are done you will have something similar to this:
Tip
When linking Tethys to a CKAN dataset service, an API Key is required. All user accounts are issued an API key. To access the API Key log into the CKAN site where you have an account and browse to your user profiles. The API key will be listed as a private attribute of your user profile.
Press "Save" to save the Dataset Service configuration.
5. Link to Persistent Store Services
Optionally, you may wish to link to external Persistent Store Services such as PostgreSQL or SQLite. Persistent Store Services can be used by apps as data stores and data sources. See Persistent Stores API documentation for how to use Persistent Store Services in apps. Complete the following steps for each service you wish to link to:
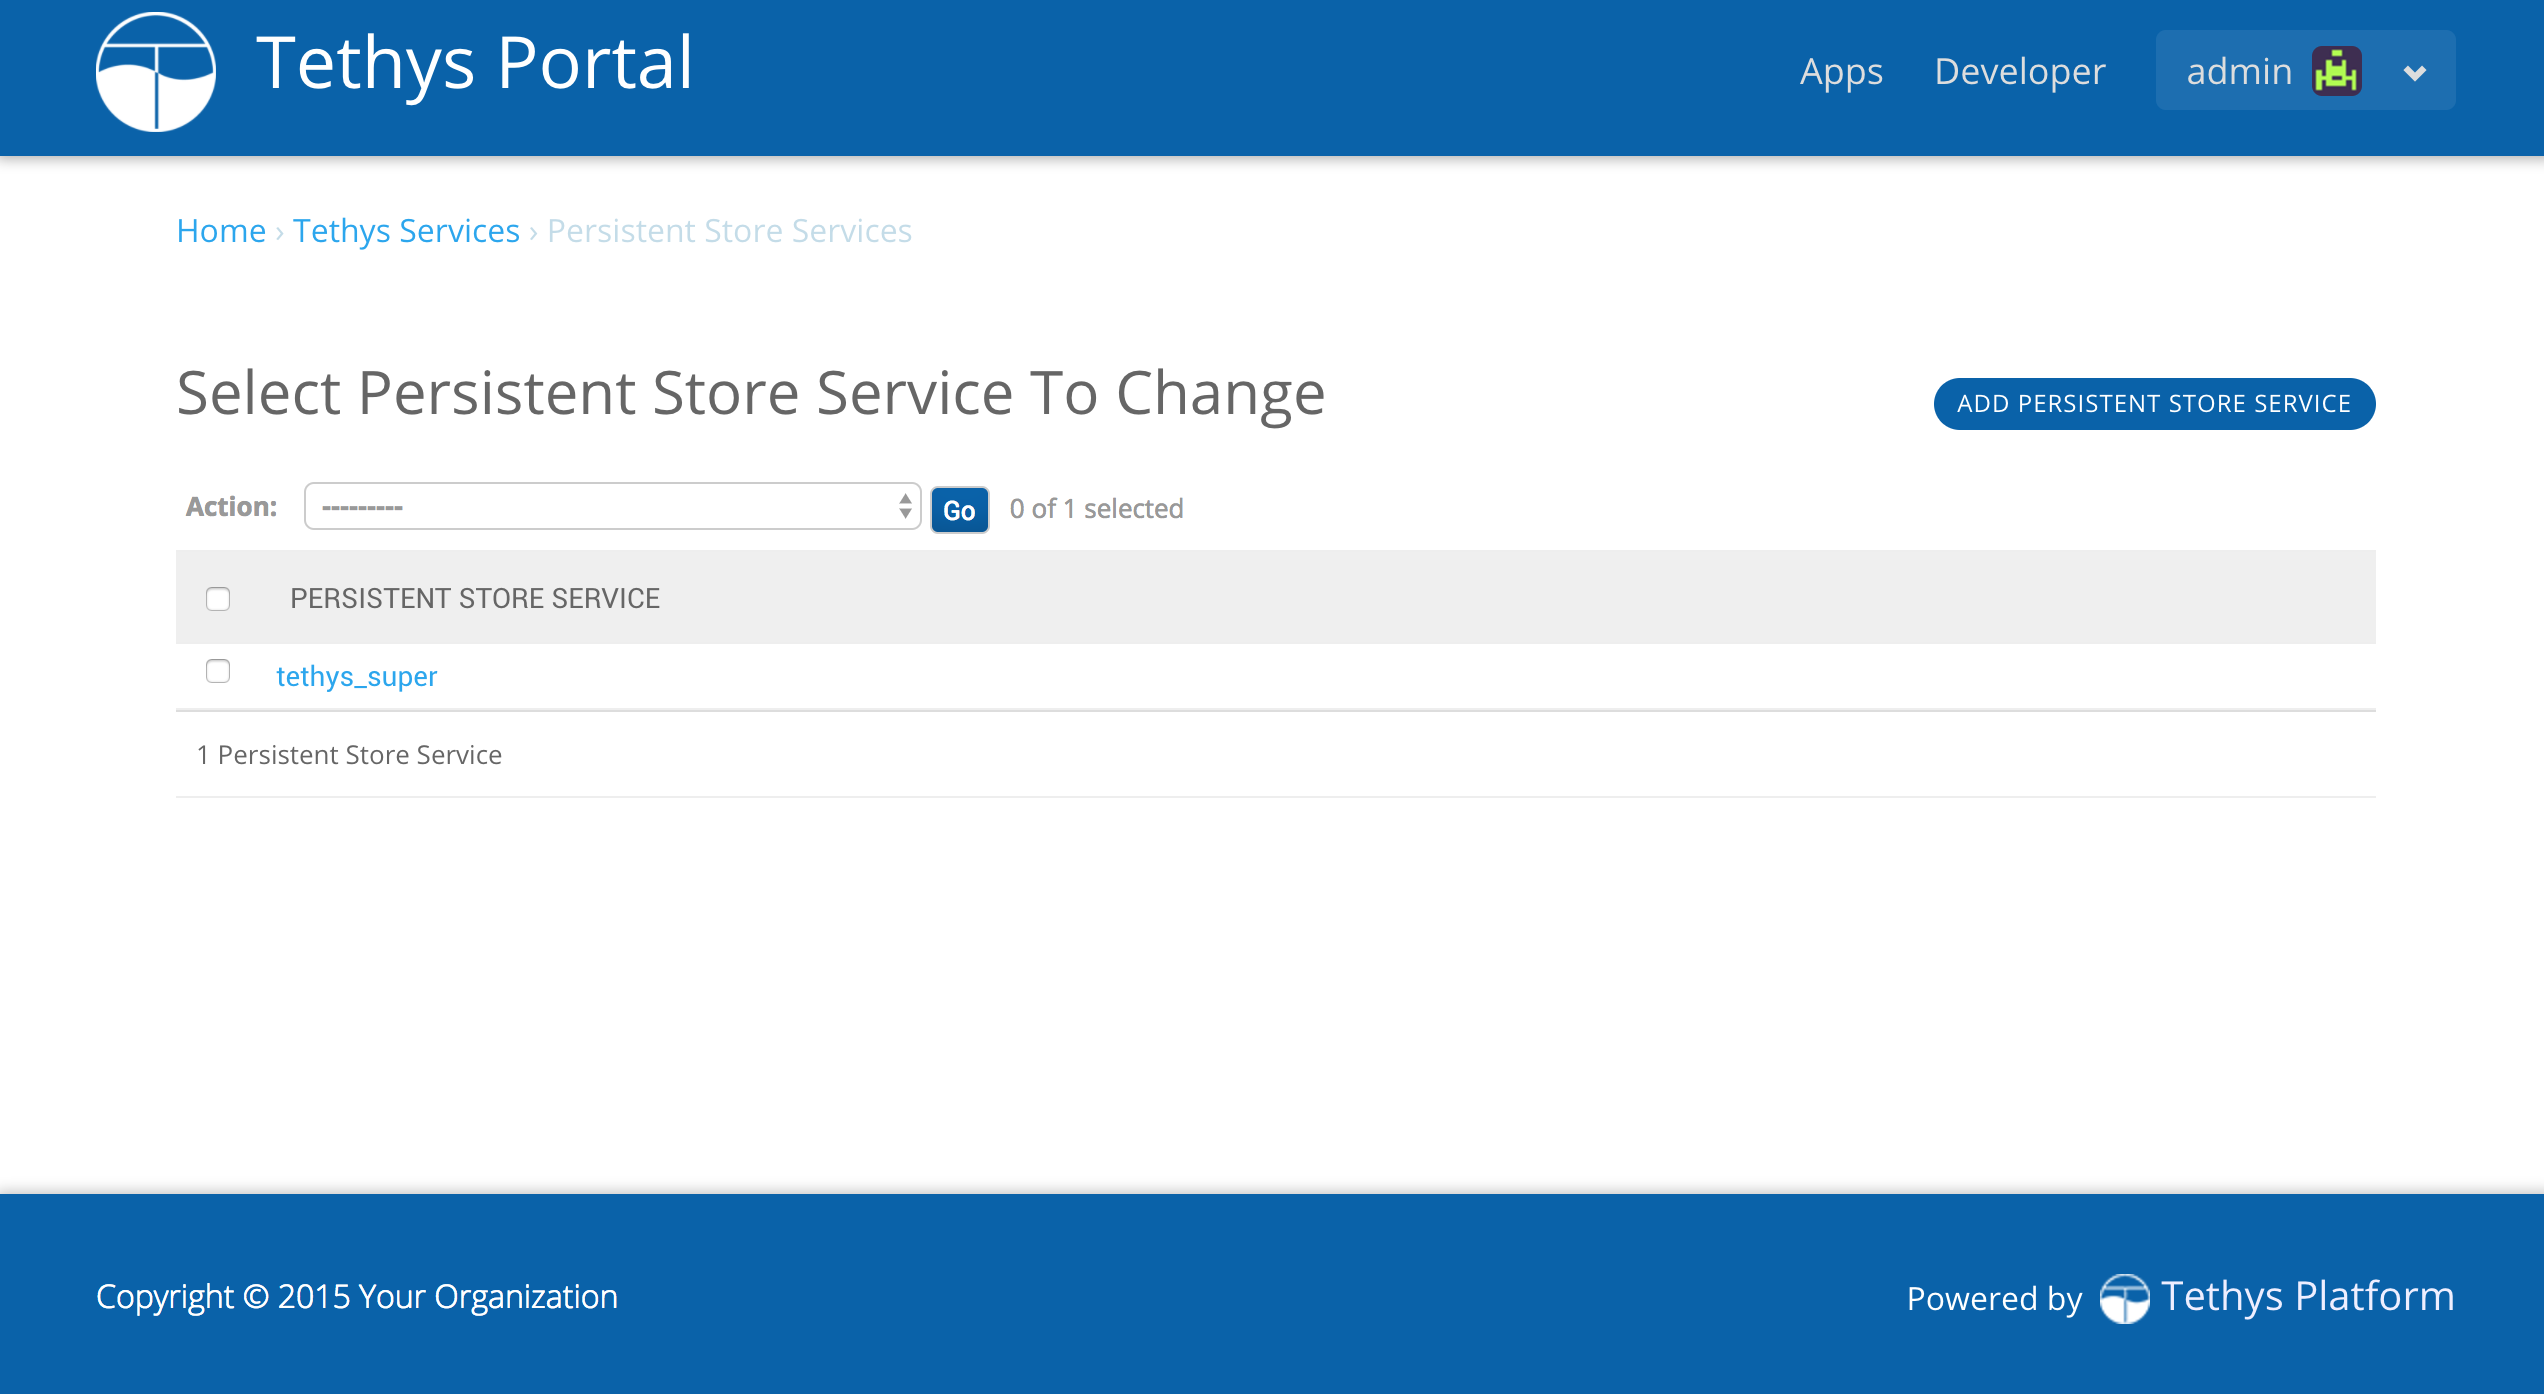
Select "PostgreSQL Persistent Store Services" or "SQLite Persistent Store Services" from the options listed on the Tethys Portal Admin Console.
Click on the "Add PostgreSQL Persistent Store Service" or "Add SQLite Persistent Store Service" button to create a new link to the persistent store service.
Provide a unique name for the persistent store service.
Provide the necessary information. For example, when linking to a PostgreSQL persistent store service, enter the host and port, and the username and password of the database user that will be used to authenticate with the service. When you are done you will have something similar to this:
Press "Save" to save the Persistent Store Service configuration.
What's Next?
Head over to Standard App Basics and create your first app. You can also check out the Software Development Kit documentation to familiarize yourself with all the features that are available.