URL Mapping
Last Updated: September 29, 2016
Whenever you create a new controller, you will also need to associate it with a URL by creating URL map for it. When a URL is requested, the controller that it is mapped to will be executed.
In this tutorial you will create a new URL map for the new map controller you created in the previous tutorial.
Map Controller to URL
Mapping a controller to a URL is performed in the app configuration file (app.py). Open your app configuration file located at my_first_app/app.py. Your app class will already have a method called url_maps(). This method must return a list or tuple of UrlMap objects. UrlMap objects require three attributes: name, url, and controller.
Your app class will already have one UrlMap for the home page called “home”. Add a new UrlMap object for the map controller that you created in the previous step. Give it a name of “map”, a url of “my-first-app/map”, and a path to the controller of “my_first_app.controllers.map”. The url_maps() method for your app should look something like this when you are done:
def url_maps(self):
    """
    Add controllers
    """
    UrlMap = url_map_maker(self.root_url)

    url_maps = (UrlMap(name='home',
                       url='my-first-app',
                       controller='my_first_app.controllers.home'),
                UrlMap(name='map',
                       url='my-first-app/map',
                       controller='my_first_app.controllers.map'),
    )

    return url_maps
Important
All of the URL patterns for your app should begin with the base URL of your app (e.g.: ‘my-first-app’) to prevent conflicts with other apps.
Now that you have created the URL map for your new map page, you can create a link to it from the home page. Open the home.html template located at my_first_app/templates/my_first_app/home.html. Replace the app_actions template block with the following:
{% block app_actions %}
  <a href="{% url 'my_first_app:map' %}" class="btn btn-default">Go To Map</a>
{% endblock %}
In this code, the url template tag is used to provide the url to the map page. It accepts a string with the following pattern: "name_of_app:name_of_url_map". The advantage of using the url tag as opposed to hard coding the URL is that if the URL ever needs to be changed, you will only need to change it in your app configuration file and not in every template that references that URL.
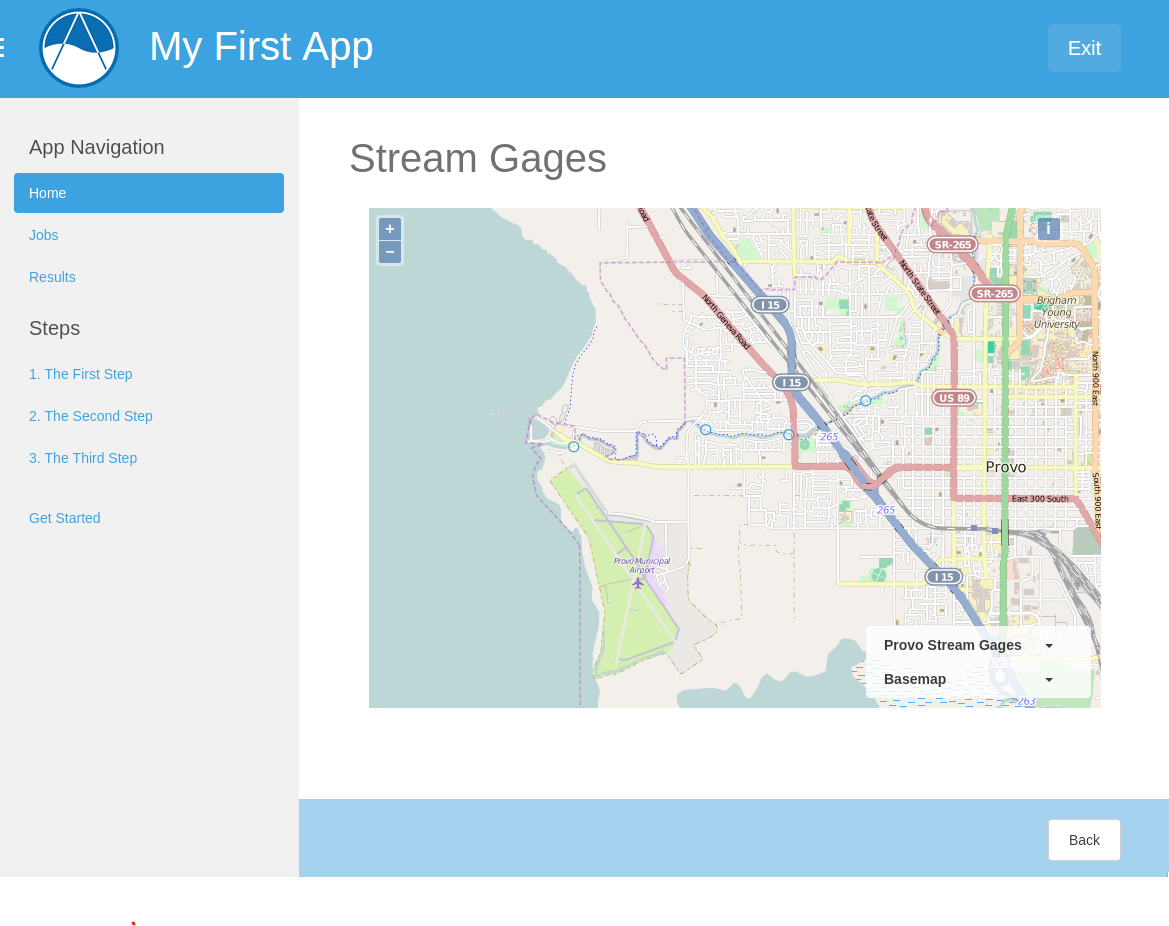
View New Map Page
At this point, your app should be ready to run again. Save all changes in the files you edited and restart the development server using the tethys manage start command in the terminal (stop it using CTRL-C if necessary). Browse to your app home page at http://127.0.0.1:8000/apps/my-first-app. Use the “Go To Map” action to browse to your new map page. Click on the “Provo Stream Gages” layer in the legend to zoom to that layer. Your map page should look similar to this: