User Input and Forms
Last Updated: September 29, 2016
Eventually you will need to request input from the user, which will involve working with HTML forms. In this tutorial, you’ll learn how to create forms in your template and process the data submitted through the form in your controller.
New URL Map
The form will be created on a new page, which means you will need to create a new URL map and controller. Open your my_first_app/app.py and add a new UrlMap object called “echo_name” to the url_maps() method of your app class. The url_maps() method of your app class should look like this now:
def url_maps(self):
    """
    Add controllers
    """
    UrlMap = url_map_maker(self.root_url)

    url_maps = (UrlMap(name='home',
                       url='my-first-app',
                       controller='my_first_app.controllers.home'),
                UrlMap(name='map',
                       url='my-first-app/map',
                       controller='my_first_app.controllers.map'),
                UrlMap(name='map_single',
                       url='my-first-app/map/{id}',
                       controller='my_first_app.controllers.map_single'),
                UrlMap(name='echo_name',
                       url='my-first-app/echo-name',
                       controller='my_first_app.controllers.echo_name'),
    )

    return url_maps
New Template
Create a new template called “echo_name.html” in your templates directory (my_first_app/templates/my_first_app/echo_name.html). Open the file and add the following contents:
{% extends "my_first_app/base.html" %}

{% load tethys_gizmos %}

{% block app_navigation_items %}
  <li class="active"><a href="{% url 'my_first_app:echo_name' %}">Name Echoer</a></li>
{% endblock %}

{% block app_content %}
  <form method="post">
      {% csrf_token %}
      {% gizmo text_input text_input_options %}
      <input type="submit" name="name-form-submit" class="btn btn-default">
  </form>

  {% if name %}
    <h1>Hello, {{ name }}!</h1>
  {% endif %}
{% endblock %}

{% block app_actions %}
  <a href="{% url 'my_first_app:home' %}" class="btn btn-default">Back</a>
{% endblock %}
The form is denoted by the HTML <form> tag and it contains a text input (created by a template Gizmo) and a submit button. Also note the use of the csrf_token tag. This is a security precaution that is required to be included in all the forms of your app (see the Cross Site Forgery protection article in the Django documentation for more details).
Also note that the method attribute of the <form> element is set to post. This means the form will use the HTTP method called POST to submit the data to the server. For an introduction to HTTP methods, see The Definitive Guide to GET vs POST.
New Controller
Now you need to create the echo_name controller function. First, add the following import statement to the top of my_first_app/controllers.py` file:
from tethys_sdk.gizmos import TextInput
Then add the following function to your my_first_app/controllers.py file:
@login_required
def echo_name(request):
    """
    Controller that will echo the name provided by the user via a form.
    """
    # Default value for name
    name = ''

    # Define Gizmo Options
    text_input_options = TextInput(display_text='Enter Name',
                                   name='name-input')

    # Check form data
    if request.POST and 'name-input' in request.POST:
       name = request.POST['name-input']

    # Create template context dictionary
    context = {'name': name,
               'text_input_options': text_input_options}

    return render(request, 'my_first_app/echo_name.html', context)
There are a few features to point out in this controller. First, the Gizmo options for the text input are defined in this controller via the text_input_options dictionary. The text input must have a name assigned to it for its value to be sent with the form data. In this case the name of the text input is “name-input”. See the Template Gizmos API.
Next, the data that is submitted with HTML forms is returned through the request object. For forms submitted using the “post” method, the data will be accessible in the request.POST attribute. Similarly, form data submitted using the “get” method will be available via the request.GET attribute. Both request.GET and request.POST are dictionary like objects where the keys are the names of the fields from the form.
The controller contains logic that checks the request.POST for data with the name of the text input field, “name-input”. If it exists (which it will after the user submits the form), the name variable is replaced with the value of the text input. The name variable is passed to template where it renders a nice greeting.
Link to New Page
Create a link to the new page from the home page using the url tag. Open the my_first_app/templates/my_first_app/home.html file and replace the contents with this:
{% extends "my_first_app/base.html" %}

{% block app_navigation_items %}
  <li><a href="{% url 'my_first_app:echo_name' %}">Name Echoer</a></li>
{% endblock %}

{% block app_content %}
  <h1>Welcome!</h1>
  <p>Congratulations on creating a new Tethys app!</p>
{% endblock %}

{% block app_actions %}
  <a href="{% url 'my_first_app:map' %}" class="btn btn-default">Go To Map</a>
{% endblock %}
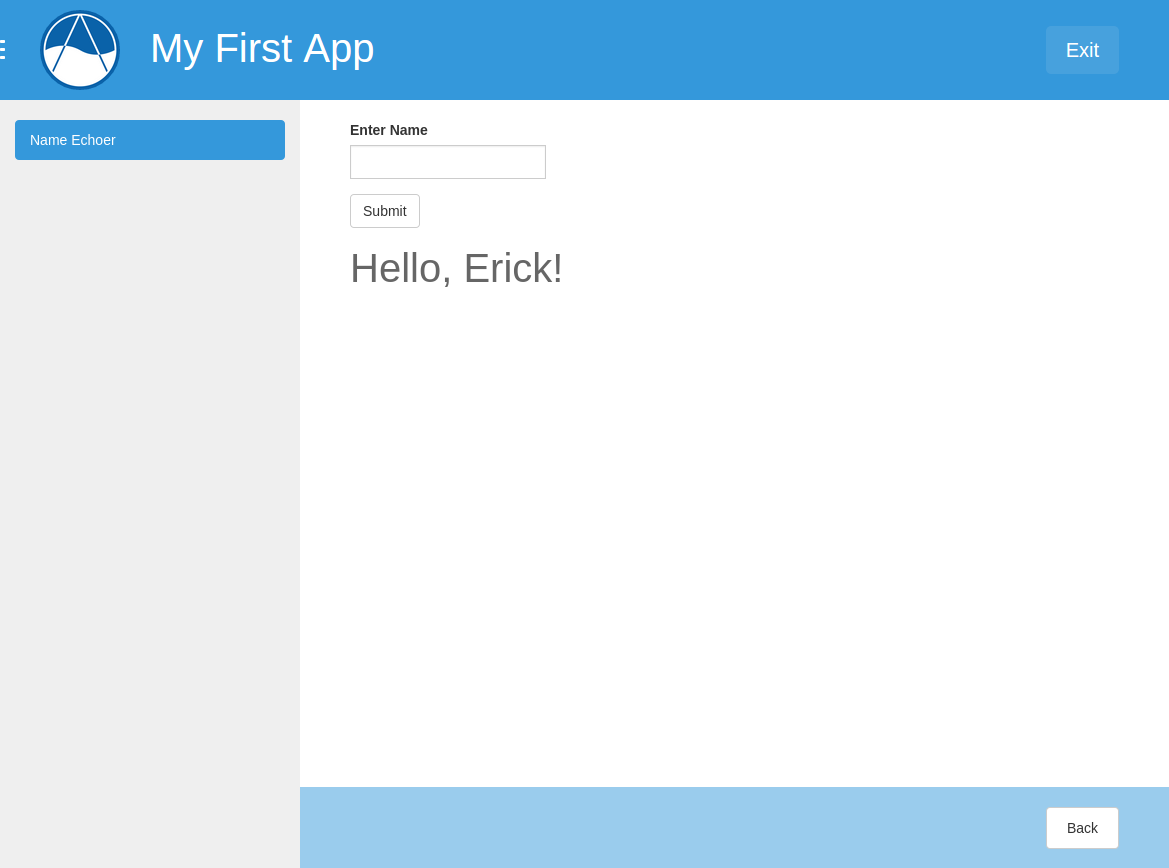
View New Page
The app is ready to be tested. Run the tethys manage start command in the terminal and browse to your app. Use the “Name Echoer” link in the navigation to access the new page. Enter your name, press submit, and enjoy the greeting. Your new page should look something like this: