Dask Delayed
Last Updated: May 2022
The DaskJob can be used with either the dask.delayed or dask.distributed APIs. The next three sections will illustrate how to use each Dask API with TethysJobs. This section will illustrate how to use the dask.delayed API with DaskJob in Tethys.
1. Add Job Function
Add a new function to the job_functions.py module that builds a Dask job using the dask.delayed API approach:
# Delayed Job
def delayed_job():
    output = []
    for x in range(3):
        a = dask.delayed(inc, pure=False)(x)
        b = dask.delayed(double, pure=False)(x)
        c = dask.delayed(add, pure=False)(a, b)
        output.append(c)
    return dask.delayed(sum_up, pure=False)(output)
2. Setup Controller
Modify the home controller in the controller.py module, adding a button to the context that will launch the Dask Delayed job. Afterwards the home function should look like this:
@controller
def home(request):
    """
    Controller for the app home page.
    """
    dask_delayed_button = Button(
        display_text='Dask Delayed Job',
        name='dask_delayed_button',
        attributes={
            'data-bs-toggle': 'tooltip',
            'data-bs-placement': 'top',
            'title': 'Dask Delayed Job'
        },
        href=reverse('dask_tutorial:run_job', kwargs={'job_type': 'delayed'})
    )

    jobs_button = Button(
        display_text='Show All Jobs',
        name='dask_button',
        attributes={
            'data-bs-toggle': 'tooltip',
            'data-bs-placement': 'top',
            'title': 'Show All Jobs'
        },
        href=reverse('dask_tutorial:jobs_table')
    )

    context = {
        'dask_delayed_button': dask_delayed_button,
        'jobs_button': jobs_button
    }

    return render(request, 'dask_tutorial/home.html', context)
Add the run_job controller to the controller.py module as well:
@controller
def run_job(request, job_type):
    """
    Controller for the app home page.
    """
    # Get scheduler from dask_primary setting.
    scheduler = app.get_scheduler(name='dask_primary')

    if job_type.lower() == 'delayed':
        from tethysapp.dask_tutorial.job_functions import delayed_job

        # Create dask delayed object
        delayed = delayed_job()
        dask = job_manager.create_job(
            job_type='DASK',
            name='dask_delayed',
            user=request.user,
            scheduler=scheduler,
        )

        # Execute future
        dask.execute(delayed)

    return HttpResponseRedirect(reverse('dask_tutorial:jobs_table'))
Note
We'll expand the run_job controller in the following sections to handle different Dask APIs.
3. Setup HTML
Add the app_content block to the home.html so that it looks like the following:
{% block app_content %}
<h2>Dask Delayed Job</h2>
{% gizmo dask_delayed_button %}
{% endblock %}
4. Review Dask Delayed
If your tethys project does not restart on its own, you may need to do so manually by ending the server with ctrl+c, and then entering the command tethys manage start again. Now when you navigate to your app page, you should see this:
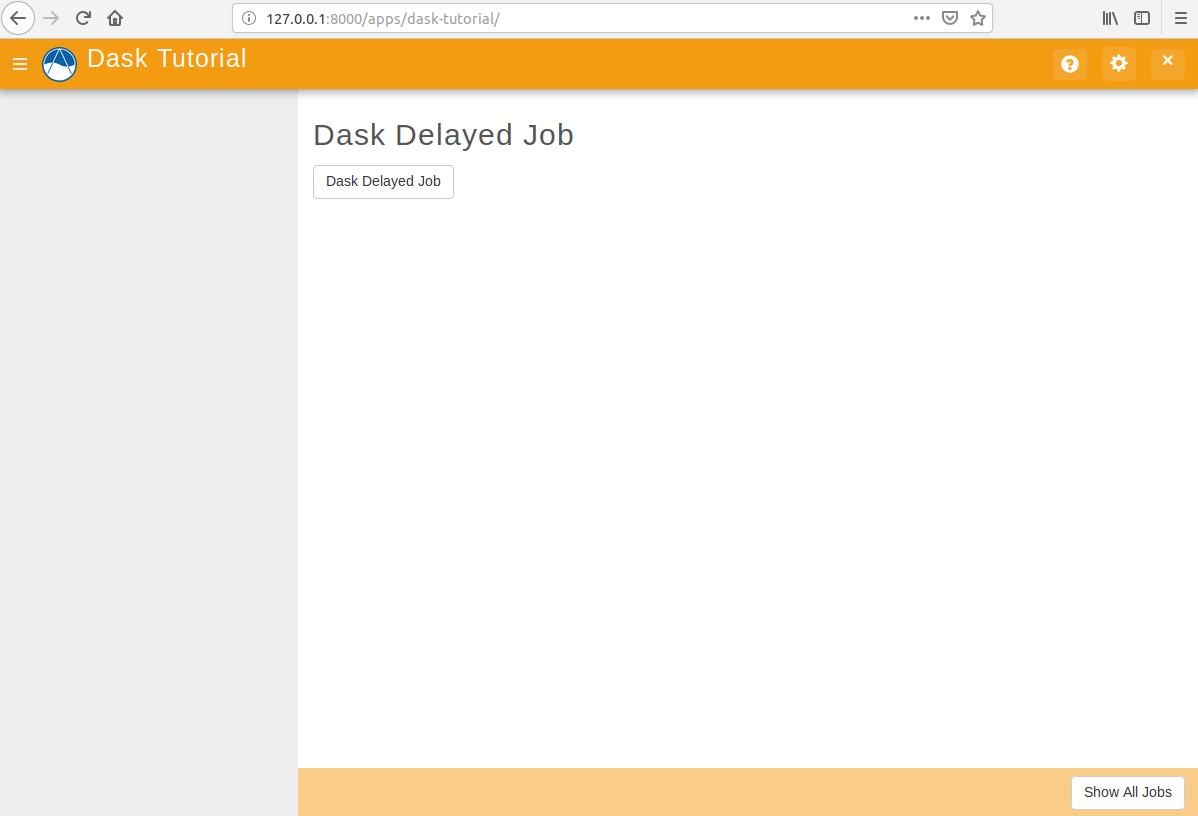
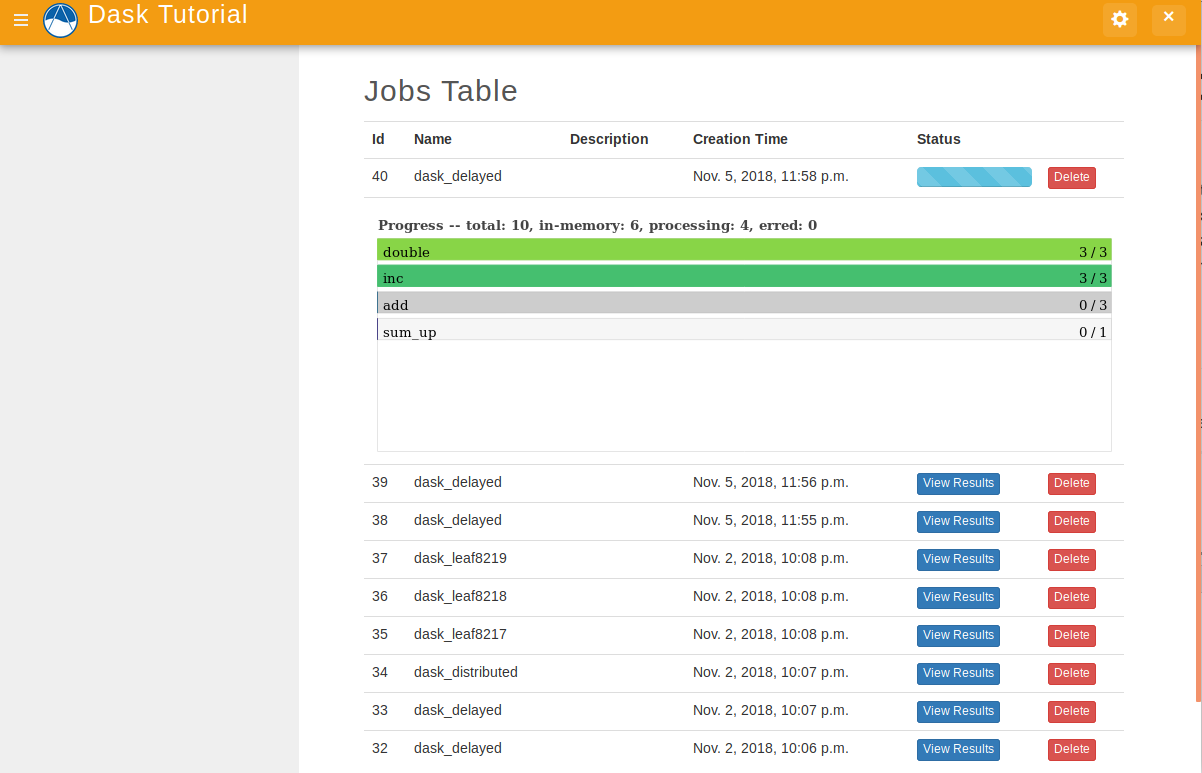
Click on the Dask Delayed Job button to launch the new job type. It will submit the job and redirect to the jobs table page:
5. Solution
View the solution on GitHub at https://github.com/tethysplatform/tethysapp-dask_tutorial or clone it as follows:
git clone https://github.com/tethysplatform/tethysapp-dask_tutorial.git
cd tethysapp-dask_tutorial
git checkout -b dask-delayed-solution dask-delayed-solution-4.2