New Tethys App Project
Last Updated: June 2022
In this tutorial you will create a new Tethys App project using the scaffold. The following topics will be reviewed in this tutorial:
Scaffolding New Tethys Apps
Managing App Dependencies
Adding a Custom Icon
Customizing App Theme Color
1. Generate Scaffold
To generate a new Tethys App using the scaffold, open a terminal and execute the following commands:
# Activate the tethys environment
conda activate tethys
# Create a working directory (if it doesn't exist already)
mkdir ~/tethysdev
cd ~/tethysdev
# Scaffold a new Tethys app
tethys scaffold thredds_tutorial
You will be prompted to enter metadata about the app such as, proper name, version, author, and description. All of these metadata are optional. You can accept the default values by pressing enter, repeatedly.
In a file browser change into your Home directory and open the tethysdev directory. If the scaffolding worked, you should see a directory called tethysapp-thredds_tutorial. All of the source code for your app is located in this directory. For more information about the app project structure, see App Project Structure.
2. Add App Dependencies to install.yml
App dependencies should be managed using the install.yml instead of the setup.py. This app will require the netcdf4, siphon, and owslib packages to allow it to use THREDDS services. All three packages are available on conda-forge, which is the preferred Conda channel for Tethys. Open tethysapp-thredds_tutorial/install.yml and add these dependencies to the requirements.conda section of the file:
# This file should be committed to your app code.
version: 1.0
# This should match the app - package name in your setup.py
name: thredds_tutorial

requirements:
  # Putting in a skip true param will skip the entire section. Ignoring the option will assume it be set to False
  skip: false
  conda:
    channels:
      - conda-forge
    packages:
      - netcdf4
      - siphon
      - owslib
  pip:

post:
3. Development Installation
Install the app and it's dependencies into your development Tethys Portal. In a terminal, change into the tethysapp-thredds_tutorial directory and execute the tethys install -d command.
cd ~/tethysdev/tethysapp-thredds_tutorial
tethys install -d
4. Customize App Icon and Theme Color
Download this Unidata App Icon or find one that you like and save it to the public/images directory. Modify the icon property of your app class to reference the new image. Also change the color property to the #008e8d color:
class ThreddsTutorial(TethysAppBase):
    """
    Tethys app class for Thredds Tutorial.
    """

    name = 'THREDDS Tutorial'
    index = 'thredds_tutorial:home'
    icon = 'thredds_tutorial/images/unidata_logo.png'
    package = 'thredds_tutorial'
    root_url = 'thredds-tutorial'
    color = '#008e8d'
    ...
5. View Your New App
Start up the development server to view the new app:
tethys manage start
Tip
To stop the development server press CTRL-C.
If you get errors related to Tethys not being able to connect to the database, start the database by running:
tethys db start
You can also stop the Tethys database by running:
tethys db stop
Browse to http://127.0.0.1:8000/apps in a web browser and login. The default portal user is:
username: admin
password: pass
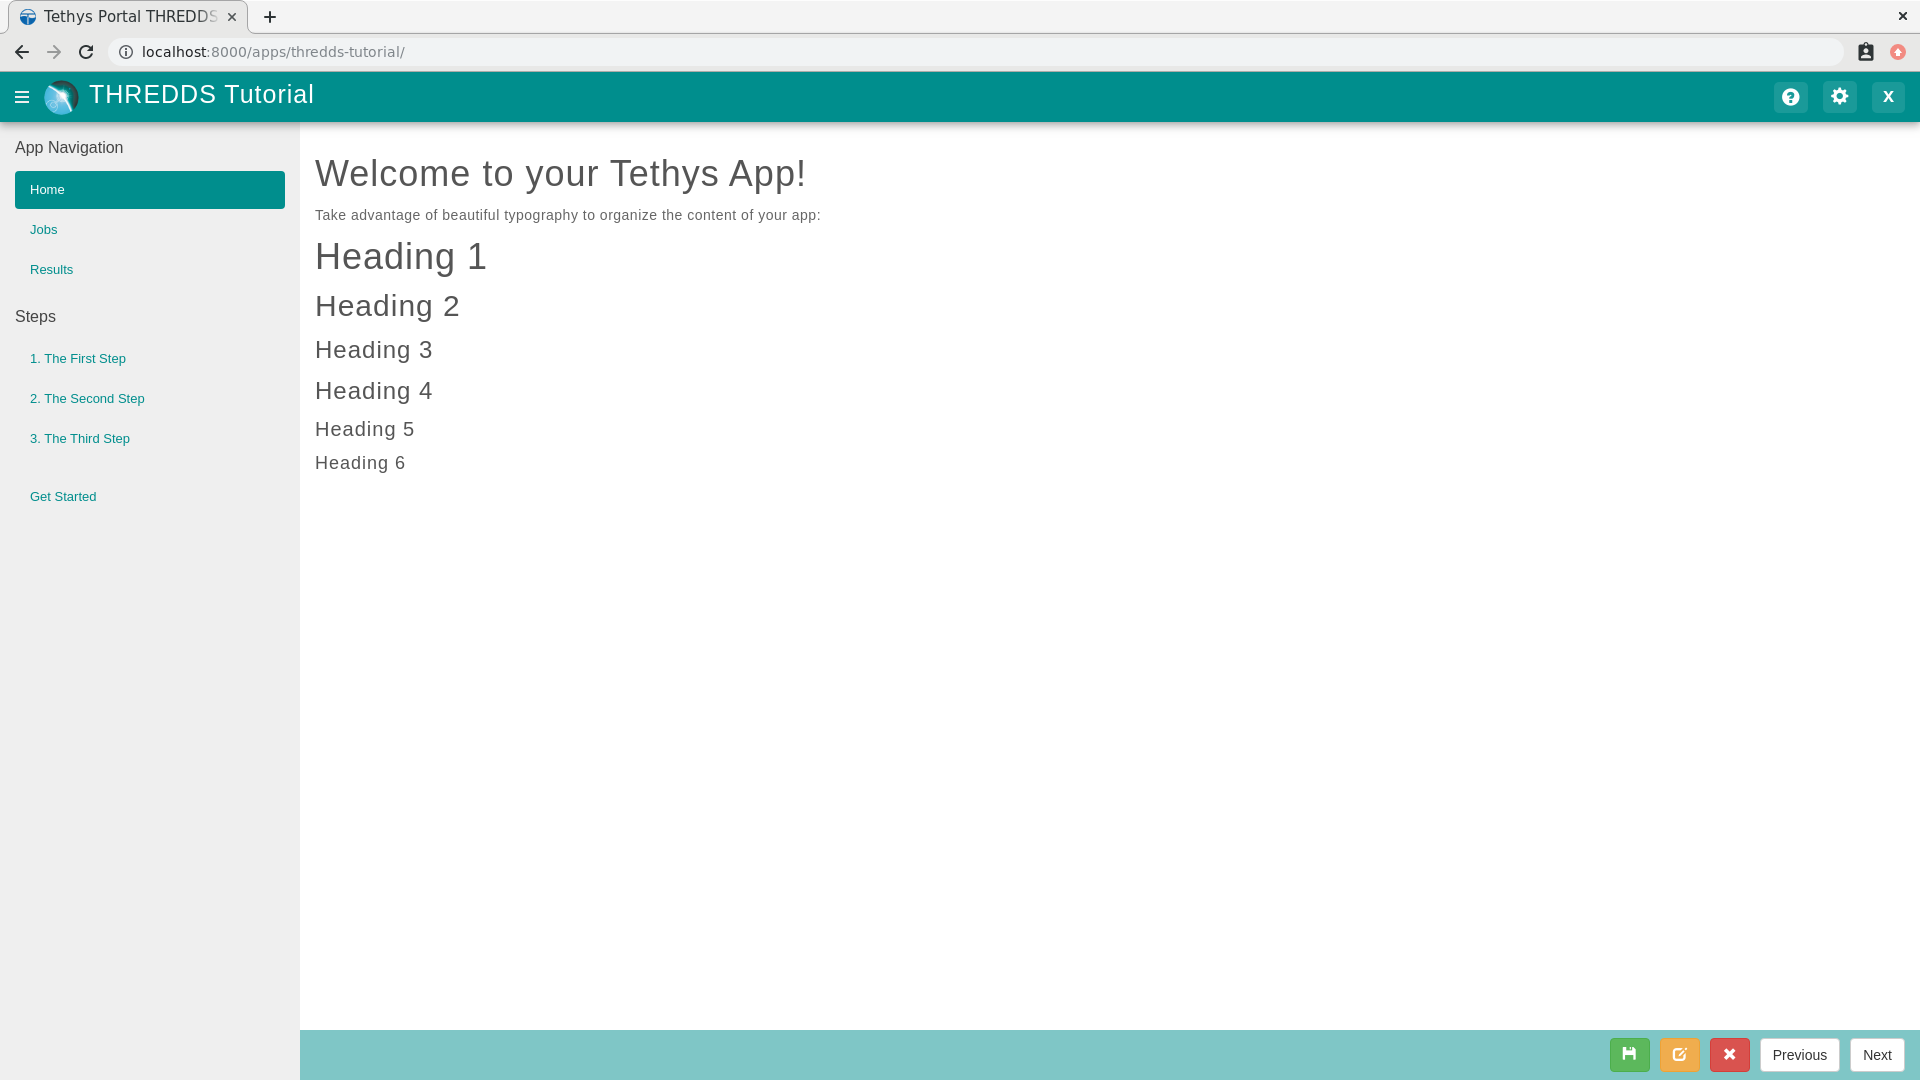
Verify the following:
The default app icon should be replaced with the custom image you added in step 4.
The primary color for the app should be a dark turquoise (see screenshot at the beginning of the tutorial).
6. Solution
This concludes the New App Project portion of the THREDDS Tutorial. You can view the solution on GitHub at https://github.com/tethysplatform/tethysapp-thredds_tutorial/tree/new-app-project-solution-3.0 or clone it as follows:
git clone https://github.com/tethysplatform/tethysapp-thredds_tutorial.git
cd tethysapp-thredds_tutorial
git checkout -b new-app-project-solution new-app-project-solution-4.2