Tethys Users
Last Updated: September 2023
User Settings
The User Settings page can be accessed through the drop-down menu located at the top right of the tethys portal window. Through the settings page a user can manage the information stored in their user profile.
Tip
A non-editable view of the user's information can be accessed by clicking the user avatar icon to the left of the drop-down menu (see Figure 1).
Note
This icon next to the users name come from Gravatar. This feature requires the django-gravatar2 library to be installed. Starting with Tethys 5.0 or if you are using micro-tethys-platform, you will need to install django-gravatar2 using conda or pip as follows:
# conda: conda-forge channel strongly recommended
conda install -c conda-forge django-gravatar2

# pip
pip install django-gravatar2
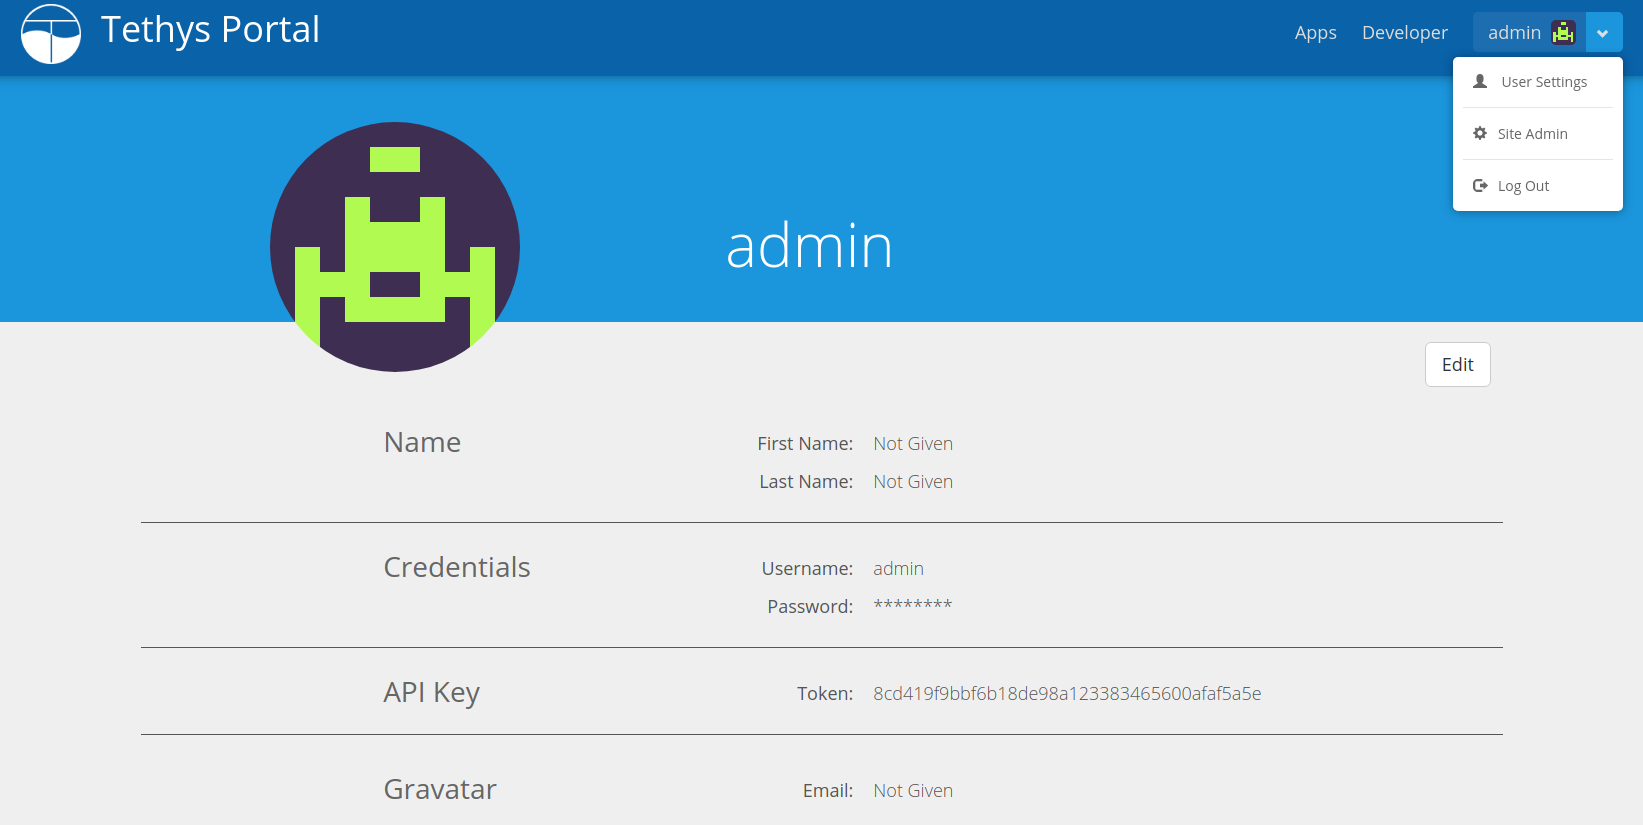
Figure 1. User profile page.
Manage User Storage
Within a user's settings page there is a Workspace section that provides a summary of the user's workspace storage across all apps and the current quota being enforced on it (see Figure 2). To manage the workspaces click the Manage Storage button, which will bring you to a table displaying workspace information for each app (see Figure 3). Use the Clear Workspace button next to each app to clear the workspace for that app.
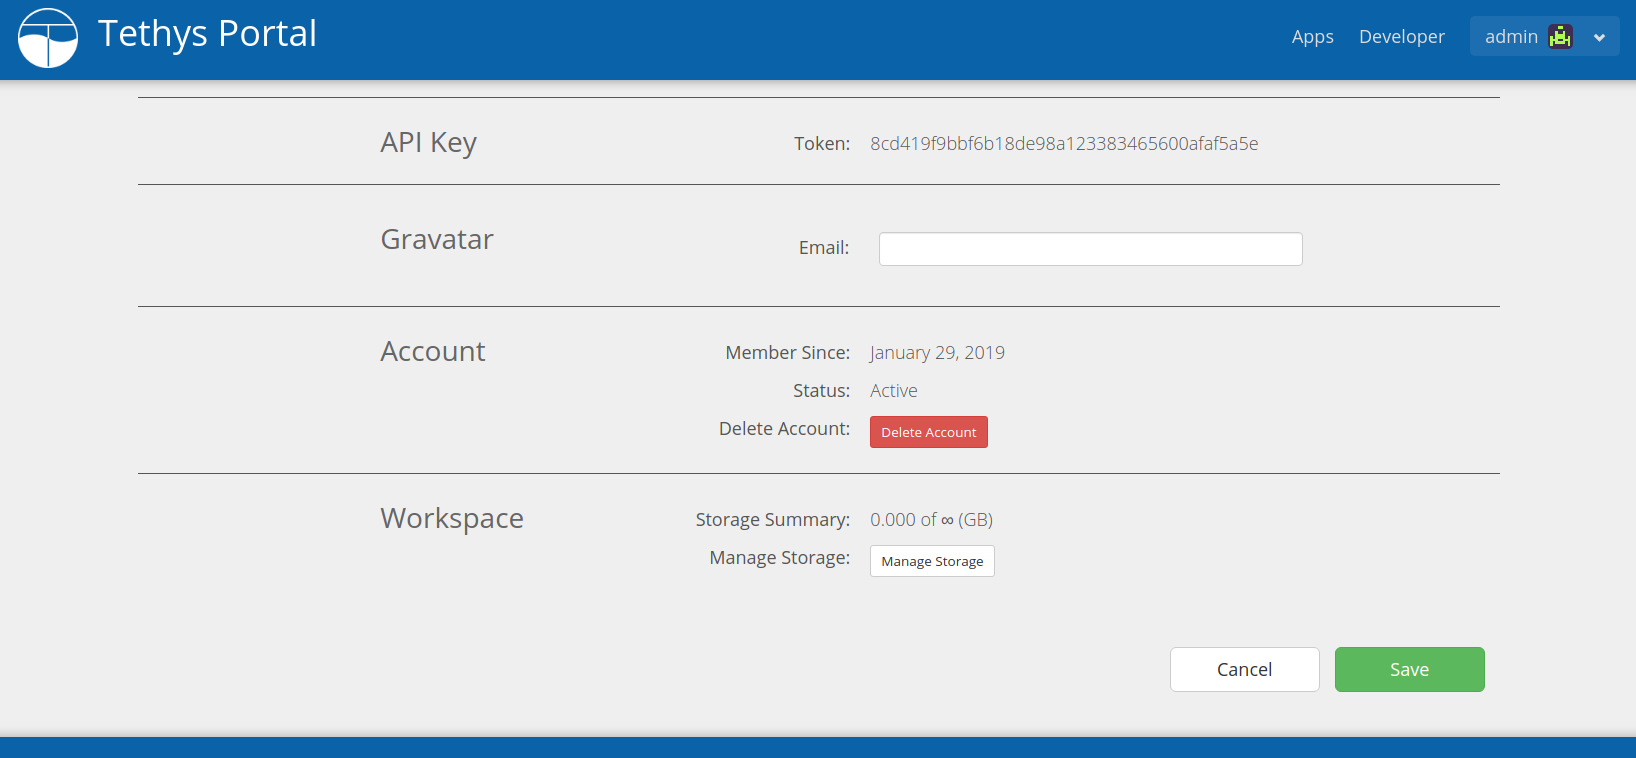
Figure 2. User settings page showing Workspace section.
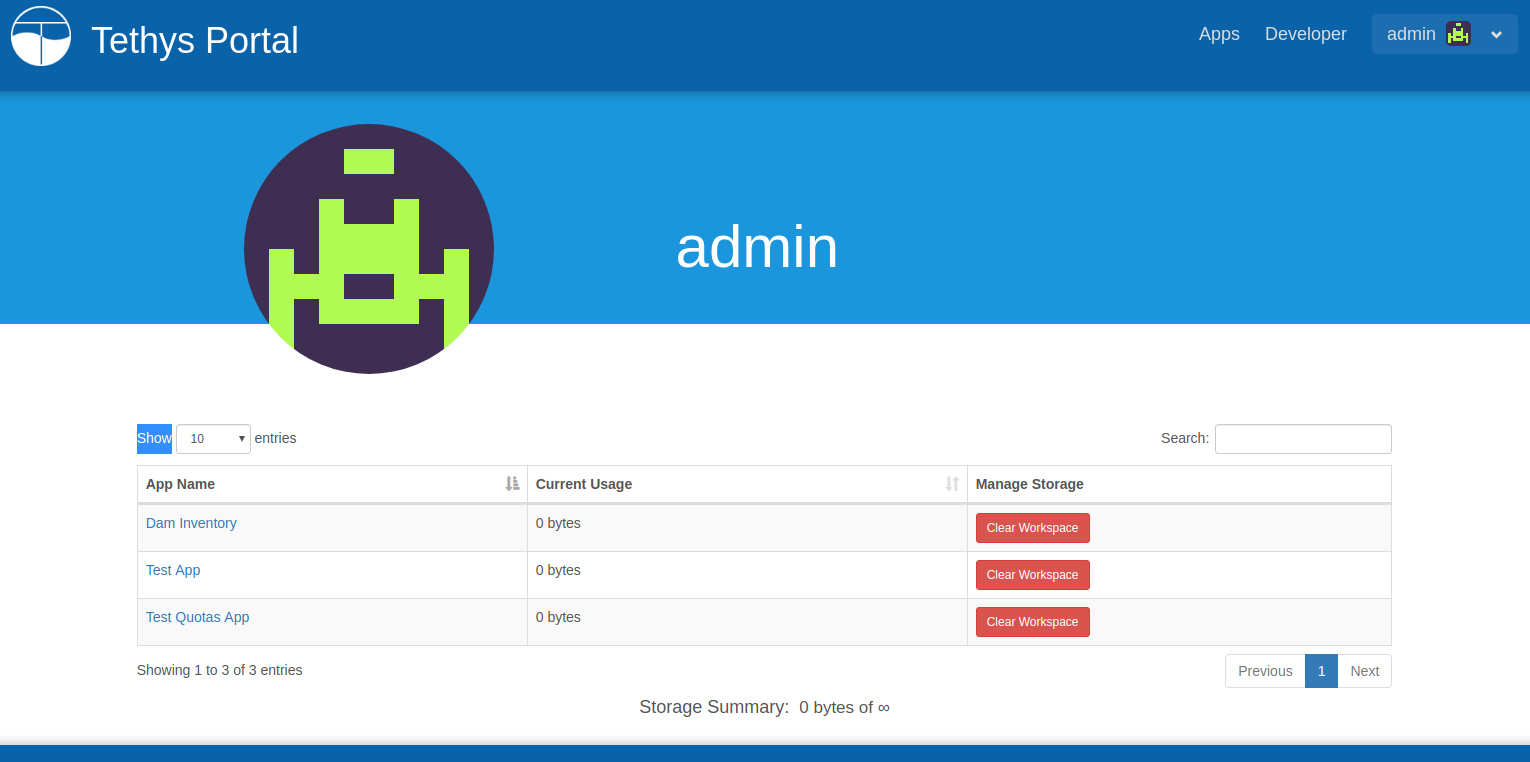
Figure 3. User's manage storage page.
Tip
See Handling Workspace Clearing for information on how to pre/post process the user workspace when it is cleared.
Manage User OAuth2 Application Registrations
Important
This feature requires the django-oauth-toolkit library to be installed. Starting with Tethys 5.0 or if you are using micro-tethys-platform, you will need to install django-oauth-toolkit using conda or pip as follows:
# conda: conda-forge channel strongly recommended
conda install -c conda-forge django-oauth-toolkit

# pip
pip install django-oauth-toolkit
This section provides a link to the OAuth2 application management page for the user. This allows a user to register an external application that will use Tethys Portal as the OAuth2 provider. This enables users of the external application to authenticate using Tethys.
Customization
The Tethys User Profile and Settings pages can be customized by overriding the template used to render them (see the Custom Templates section in Tethys Portal Configuration).
When providing a custom template you may just want to extend the default template and override specific blocks. For example:
{% extends "tethys_portal/user/profile.html" %}

{% block api_key_override %}
{% endblock %}

{% block custom_sections %}
      <div class="profile-section row mx-2">
        <div class="col-xl-4">
          <h3>Custom Section</h3>
        </div>
        <div class="profile-parameters col-xl-8">
          <dl class="row">
            <dd class="col-sm-8">{{ custom_user_attribute }}</dd>
          </dl>
        </div>
        <hr>
      </div>
{% endblock %}
The following blocks are defined in the profile.html file:
titleback_buttonsecondary_contentprofile_sectionsname_overridename_parameters
email_overrideemail_parameters
credentials_overridecredential_parameters
sso_overridesocial_parameters
api_key_overrideaccount_overrideaccount_parameters
workspace_overridestorage_parameters
oauth2_provider_overridecustom_sections
Note
The settings.html file is what is shown when the user selects the Edit button on the user profile page. It just extends the profile.html file and overrides the *_parameters blocks.