Administrator Pages
Last Updated: December 2018
Tethys Portal includes administration pages that can be used to manage the website (see Figure 1). The administration dashboard is only available to administrator users (staff users). You should have created a default administrator user when you installed Tethys Platform. If you are logged in as an administrator, you will be able to access the administrator dashboard by selecting the "Site Admin" option from the user drop down menu in the top right-hand corner of the page (when you are not in an app).
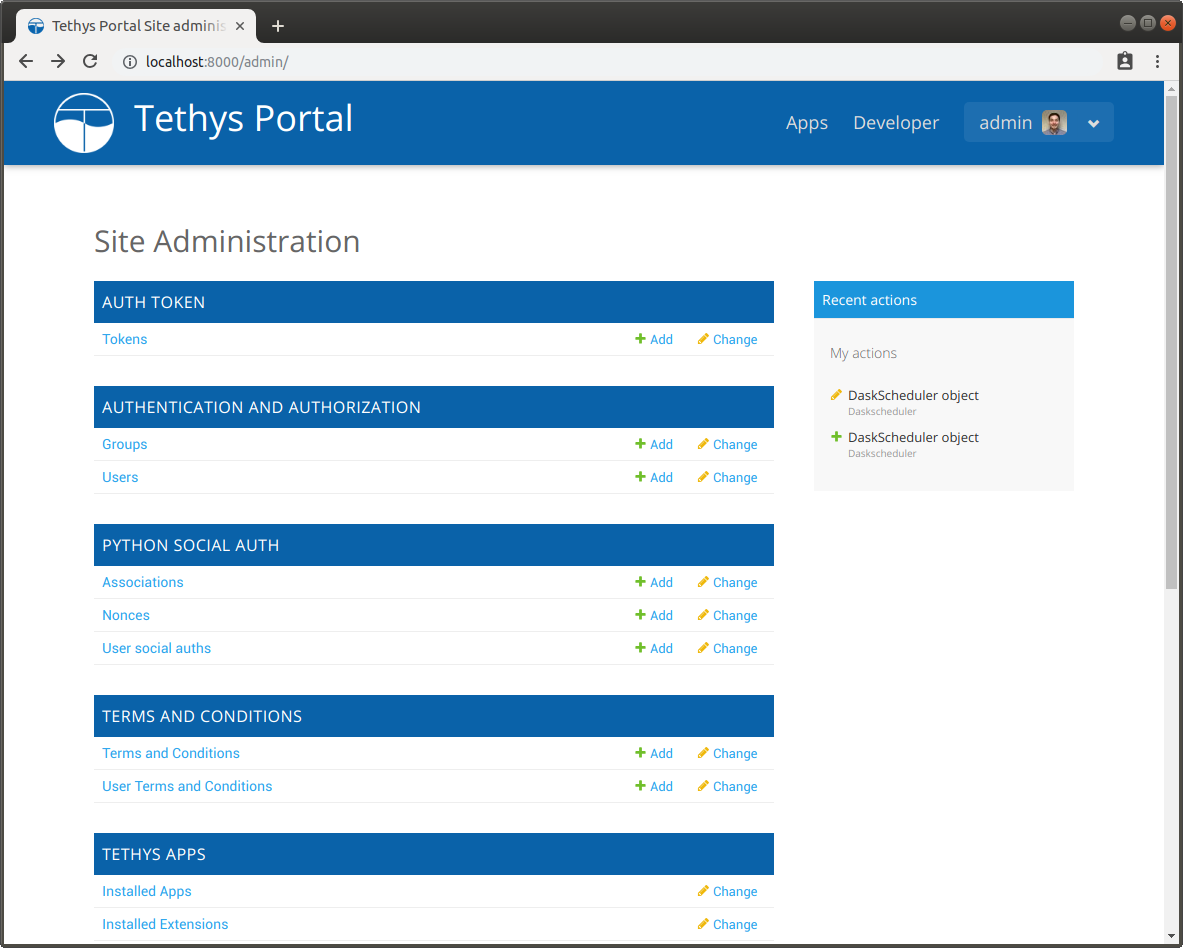
Figure 1. Administrator dashboard for Tethys Portal.
Note
If you did not create an administrator user during installation, run the following command in the terminal:
$ tethys manage createsuperuser
Auth Token
Tethys REST API tokens for individual users can be managed using the Tokens link under the AUTH TOKEN heading (see Figure 2).
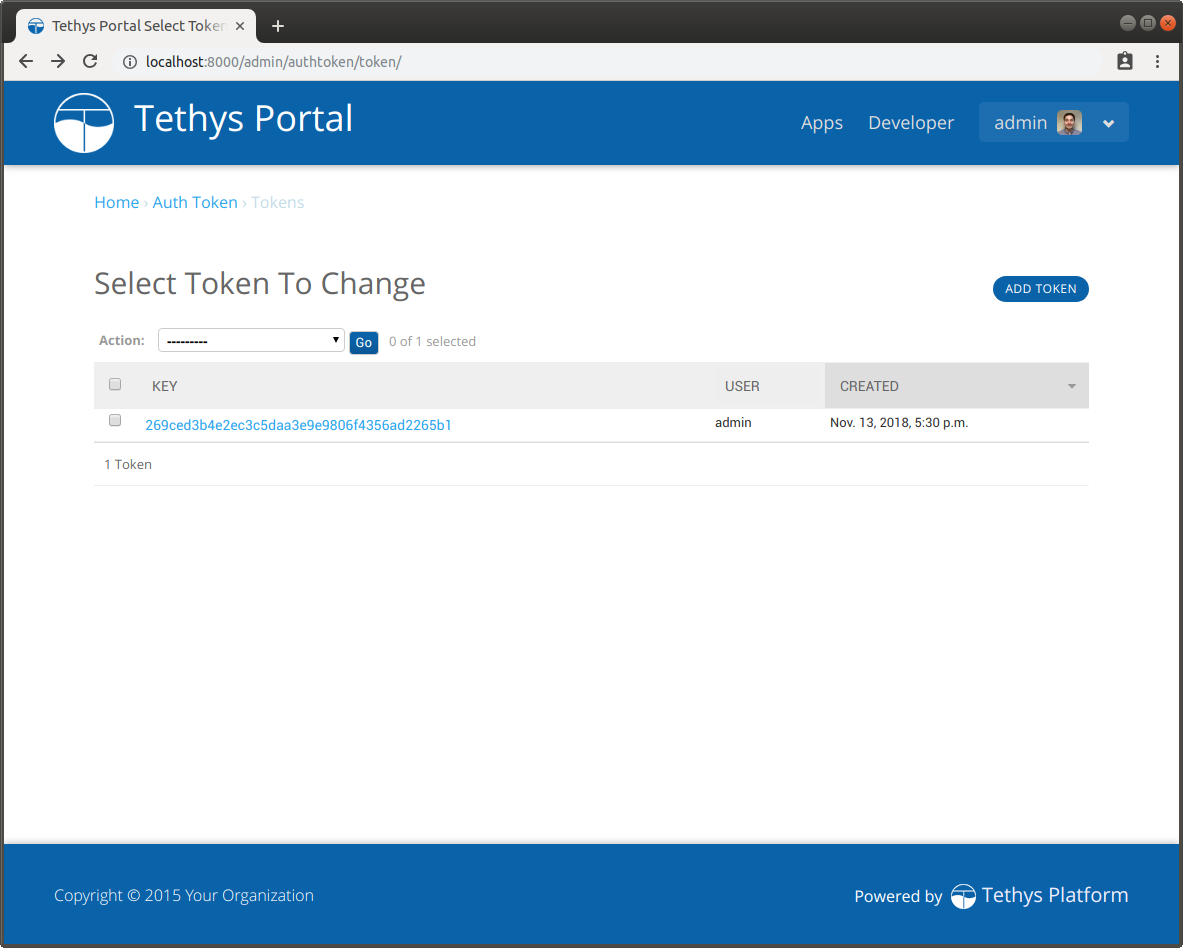
Figure 2. Auth Token management page for Tethys Portal.
Authentication and Authorization
Permissions and users can be managed from the administrator dashboard using Users link under the AUTHENTICATION AND AUTHORIZATION heading. Figure 3 shows an example of the user management page for a user named John.
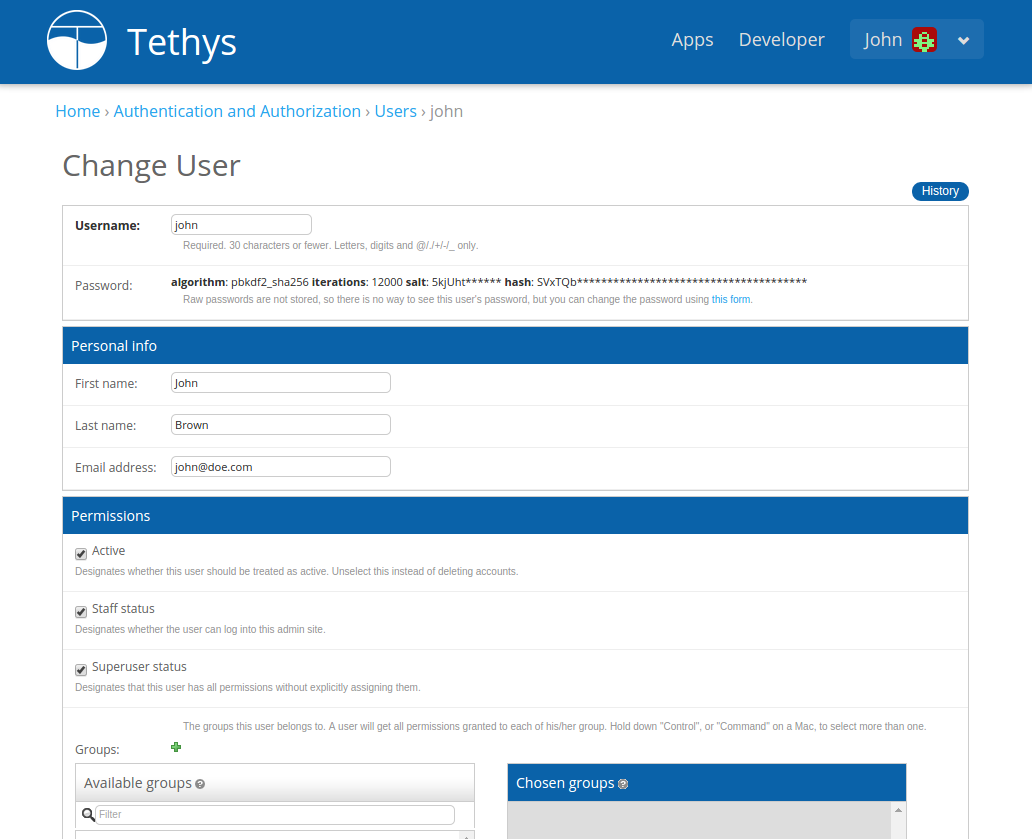
Figure 3. User management for Tethys Portal.
Assign App Permission Groups
To assign an app permission group to a user, select the desired user and locate the Groups dialog under the Permissions heading of the Change User page. All app permission groups will appear in the Available Groups list box. Assigning the permission group is done by moving the permission group to the Chosen Groups list box. Although the permissions may also appear in the User Permissions list box below, they cannot be properly assigned in the Change User dialog.
Assign App Permissions
To assign a singluar app permission to a user, return to the administrator dashboard and navigate to the Installed Apps link under the Tethys Apps heading. Select the link with the app name from the list. In the upper right corner of the Change Tethys App page click the Object Permissions button. On the Object Permissions page you can assign app specific permissions to a user by entering the username in the User Identification field and press the Manage user button. Incidentally, you can also manage the app permissions groups from the Object Permisions page, but changes will be overridden the next time the server restarts and permissions are synced from the app.
Note
Since assigning the individual app permissions is so difficult, we highly recommend that you use the app permission groups to group app permissions and then assign the permission groups to the users using the Change User page.
Anonymous User
The AnonymousUser can be used to assign permissions and permission groups to users who are not logged in. This means that you can define permissions for each feature of your app, but then assign them all to the AnonymousUser if you want the app to be publicly accessible.
Python Social Auth
Tethys leverages the excellent Python Social Auth to provide support for authenticating with popular servies such as Facebook, Google, LinkedIn, and HydroShare. The links under the PYTHON SOCIAL AUTH heading can be used to manually manage the social associations and data that is linked to users when they authenticate using Python Social Auth.
Tip
For more detailed information on using Python Social Auth in Tethys see the Social Authentication documentation.
Terms and Conditions
Portal administrators can manage and enforce portal wide terms and conditions and other legal documents via the administrator pages.
Use the Terms and Conditions link to create new legal documents (see Figure 4). To issue an update to a particular document, create a new entry with the same slug (e.g. 'site-terms'), but a different version number (e.g.: 1.10). This allows you to track multiple versions of the legal document and which users have accepted each. The document will not become active until the Date active field has been set and the date has past.
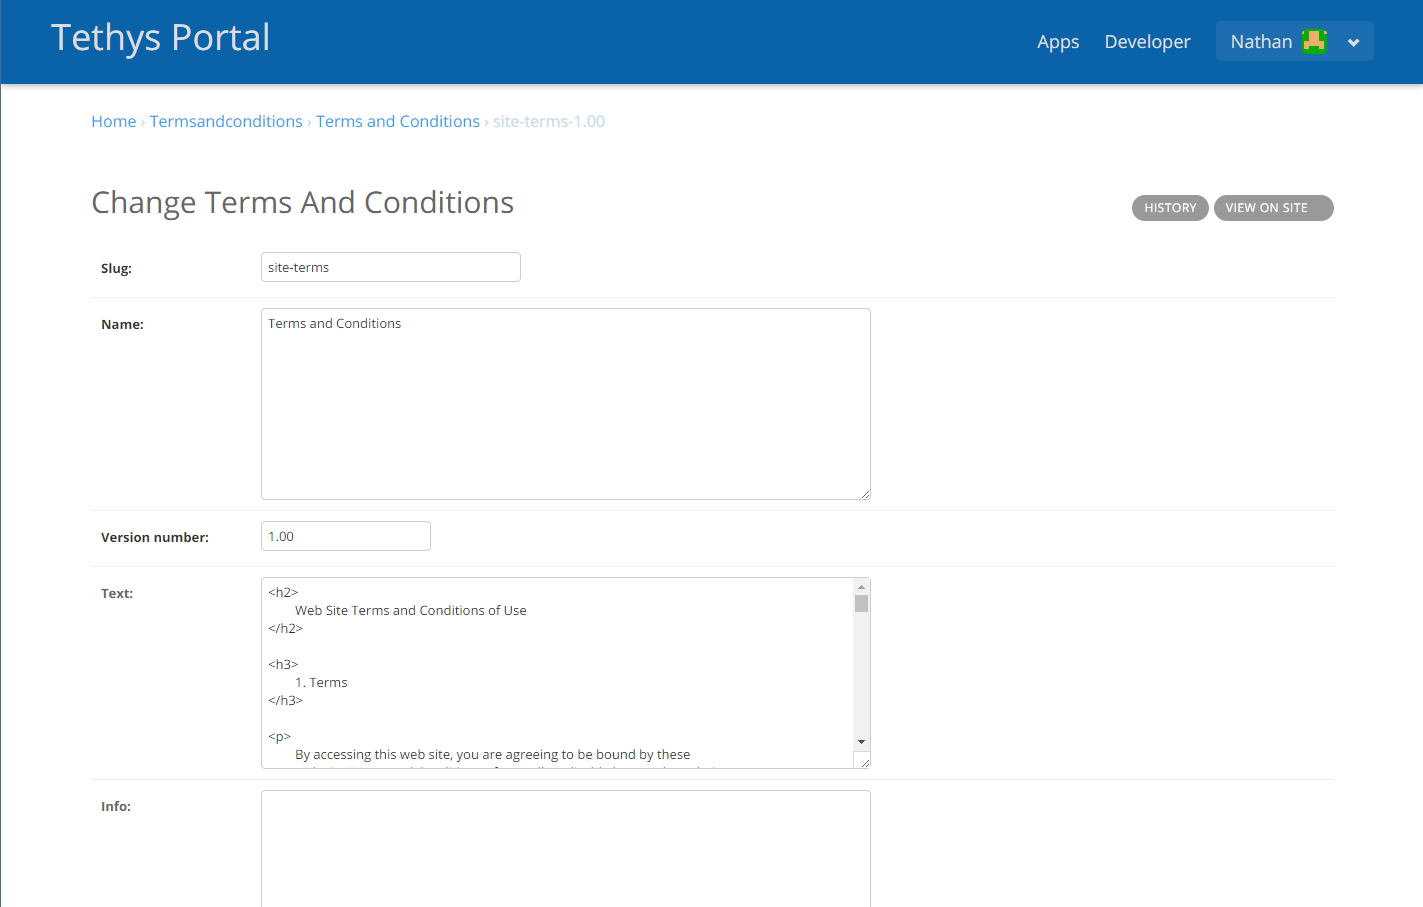
Figure 4. Creating a new legal document using the terms and conditions feature.
When a new document becomes active, users will be presented with a modal prompting them to review and accept the new terms and conditions (see Figure 5). The modal can be dismissed, but will reappear each time a page is refreshed until the user accepts the new versions of the legal documents. The User Terms and Conditions link shows a record of which users have accepted the terms and conditions.
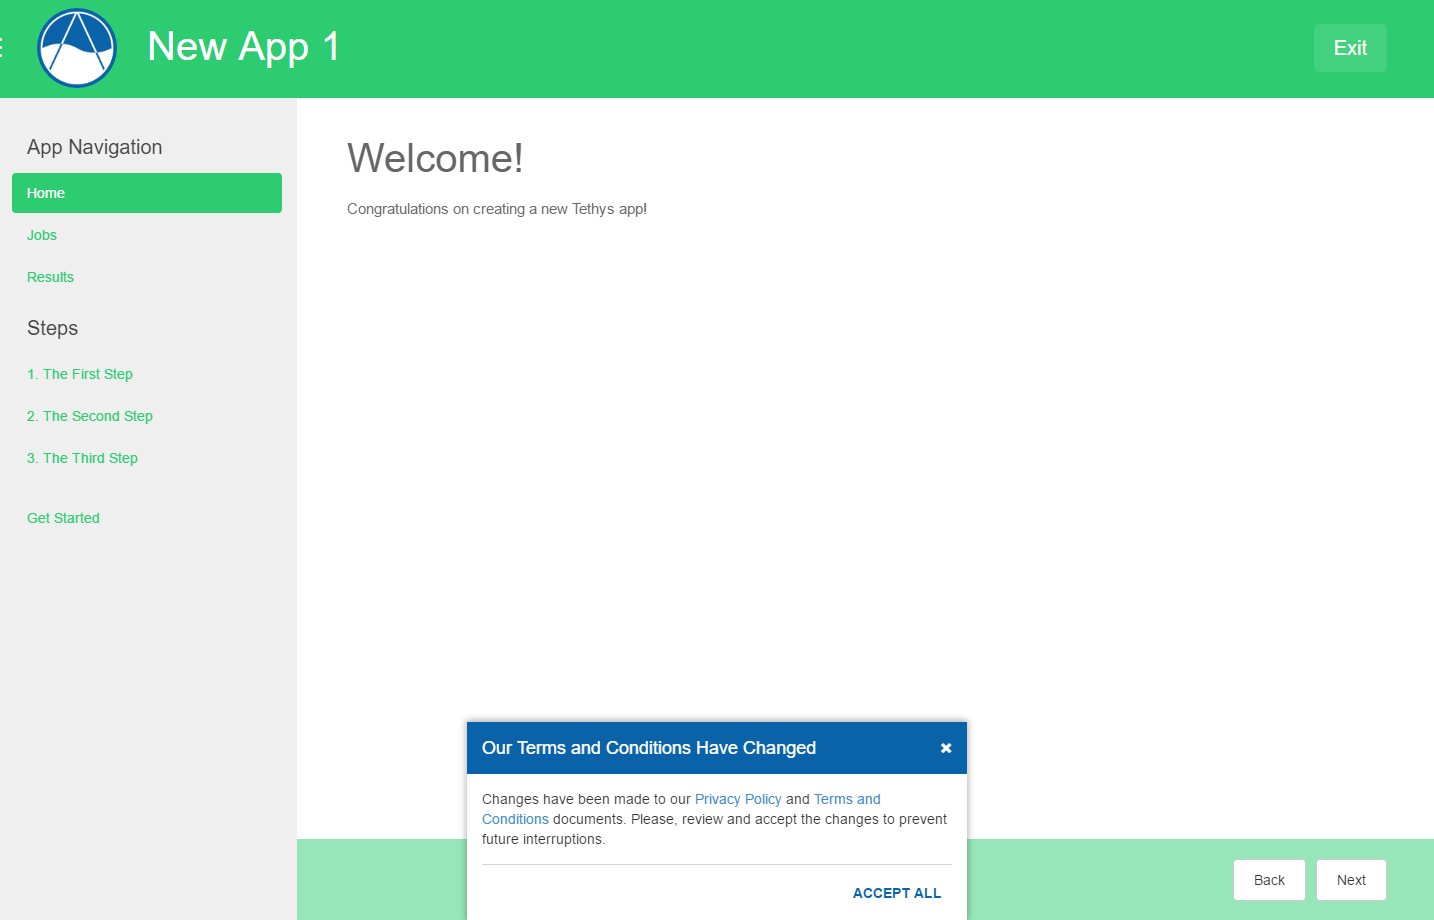
Figure 5. Terms and conditions modal.
Tethys Apps
The links under the TETHYS APPS heading can be used to manage settings for installed apps and extensions. Clicking on the Installed Apps or Installed Extensions links will show a list of installed apps or extensions. Clicking on a link for an installed app or extension will bring you to the settings page for that app or extension. There are several different types of app settings: Common Settings, Custom Settings, and Service Settings.
Common Settings
The Common Settings include those settings that are common to all apps or extension such as the Name, Description, Tags, Enabled, Show in apps library, and Enable feedback (see Figure 6). Many of these settings correspond with attributes of the term:app class and can be overridden by the portal administrator. Other control the visibility or accessibility of the app.
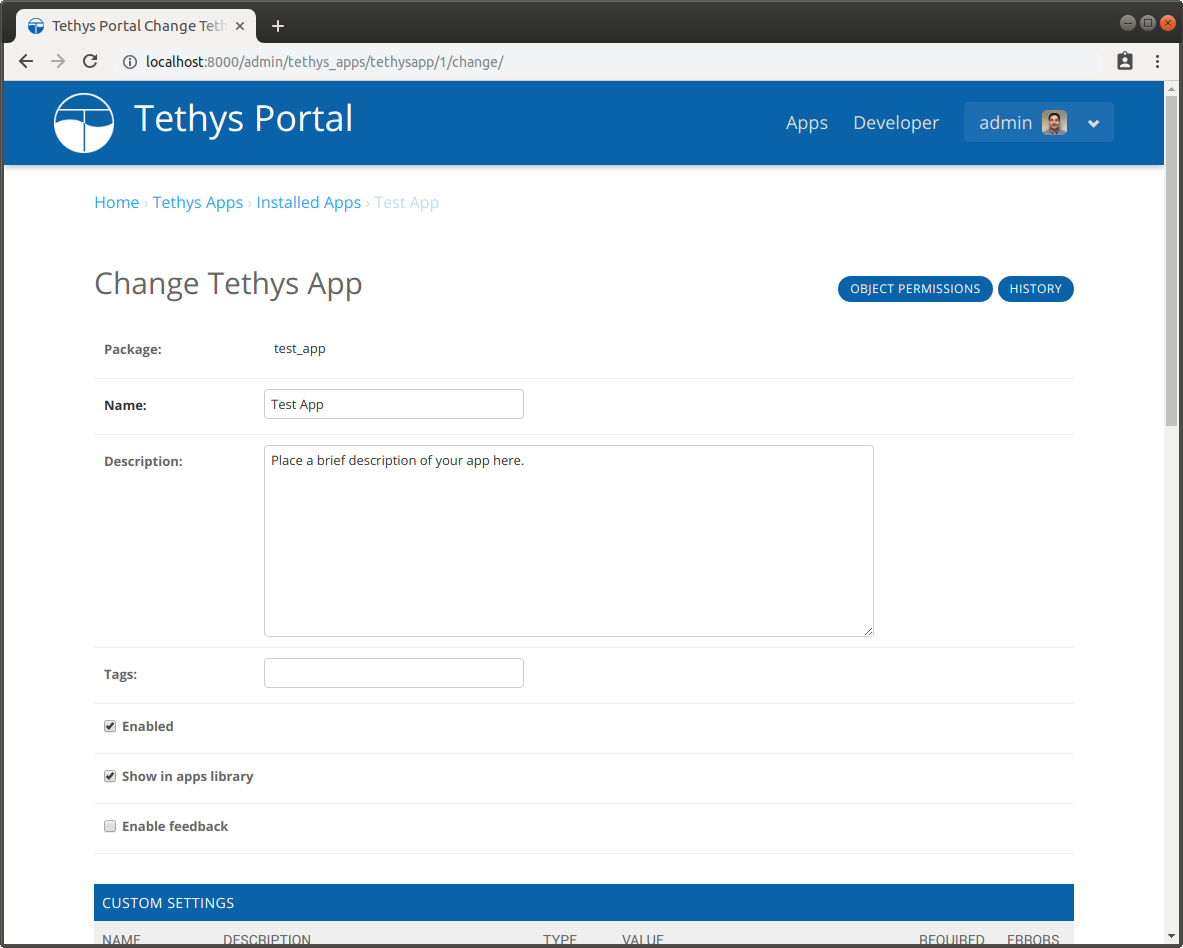
Figure 6. App settings page showing Common Settings.
Custom Settings
Custom Settings appear under the CUSTOM SETTINGS heading and are defined by the app developer (see Figure 7). Custom Settings have simple values such as strings, integers, floats, or booleans, but all are entered as text. For boolean type Custom Settings, type a valid boolean value such as True or False.
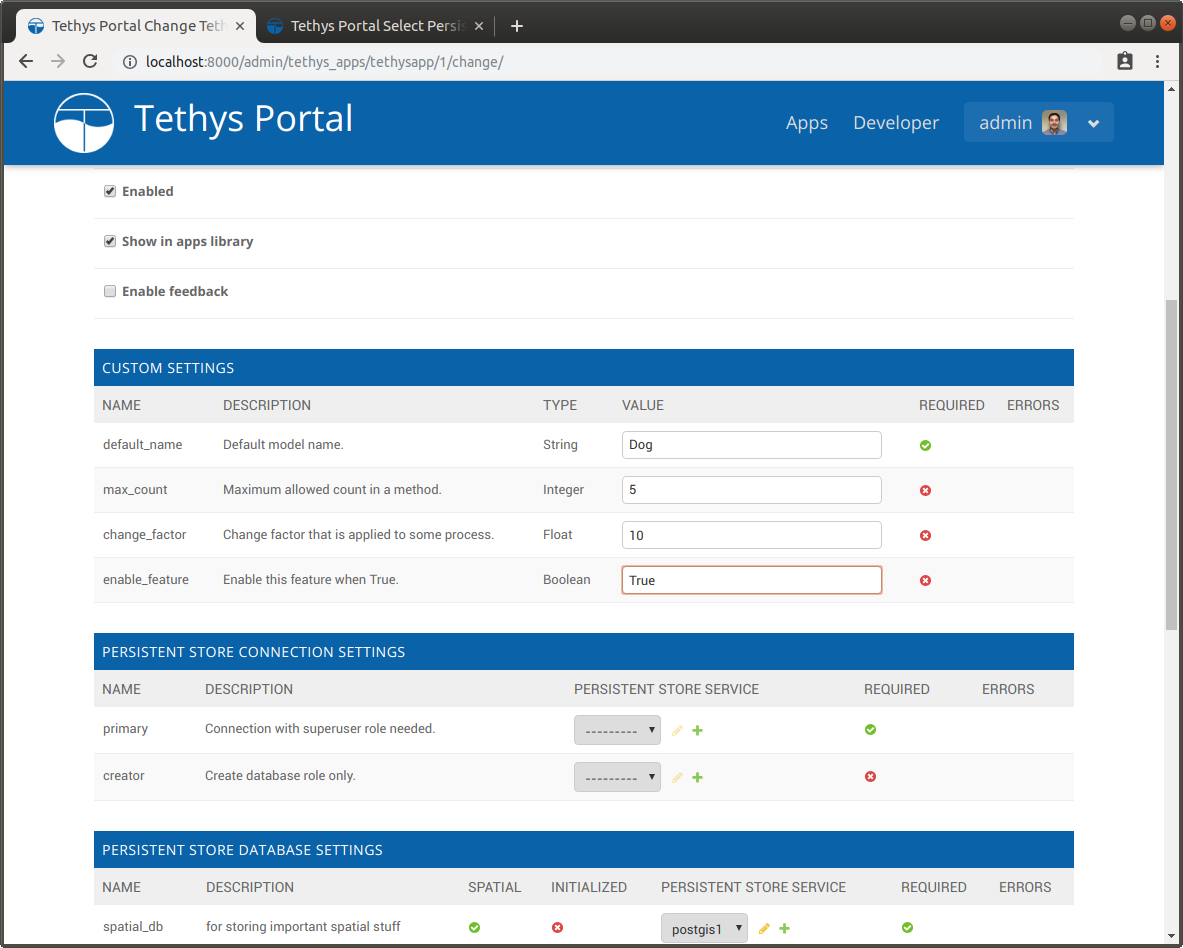
Figure 7. Custom Settings section of an app.
Service Settings
There are several different types of Service Settings including: Persistent Store Connection Settings, Persistent Store Database Settings, Dataset Service Settings, Spatial Dataset Service Settings, and Web Processing Service Settings (see Figure 8). These settings specify the types of services that the apps require. Use the drop down next to each Service Setting to assign a pre-registered Tethys Service to that app or use the plus button to create a new one.
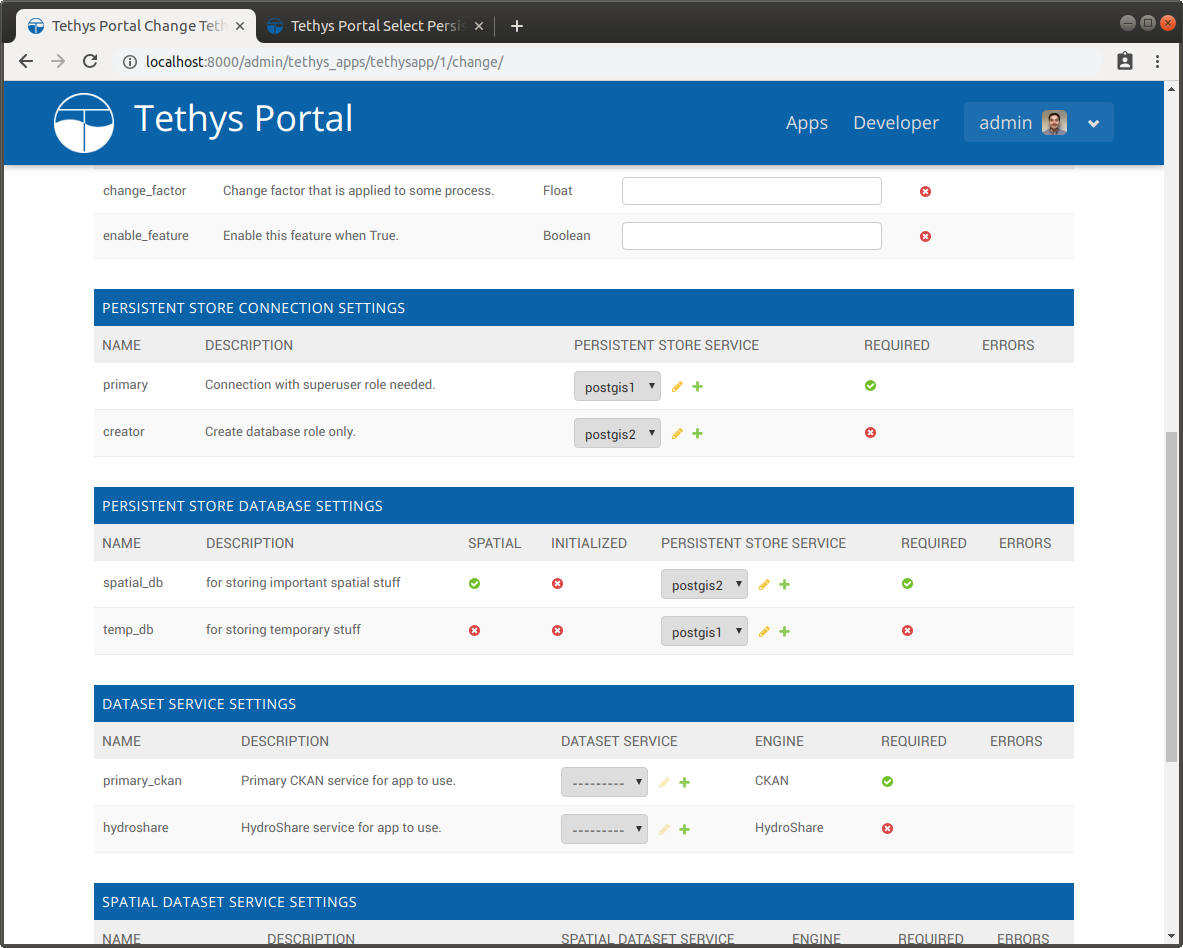
Figure 8. Service Settings sections of an app.
Tip
For information on how to define settings for your app see the App Settings API documentation. See Tethys Services for how to configure different Tethys Services.
Tethys Compute
The links under the TETHYS COMPUTE heading can be used to manage Jobs and Schedulers:
Tip
For more information on Tethys Jobs see the Jobs API and Compute API documentation.
Tethys Portal
The links under the TETHYS PORTAL heading can be used to customize the look of the Tethys Portal. For example, you can change the name, logo, and color theme of the portal (see Figure 9).
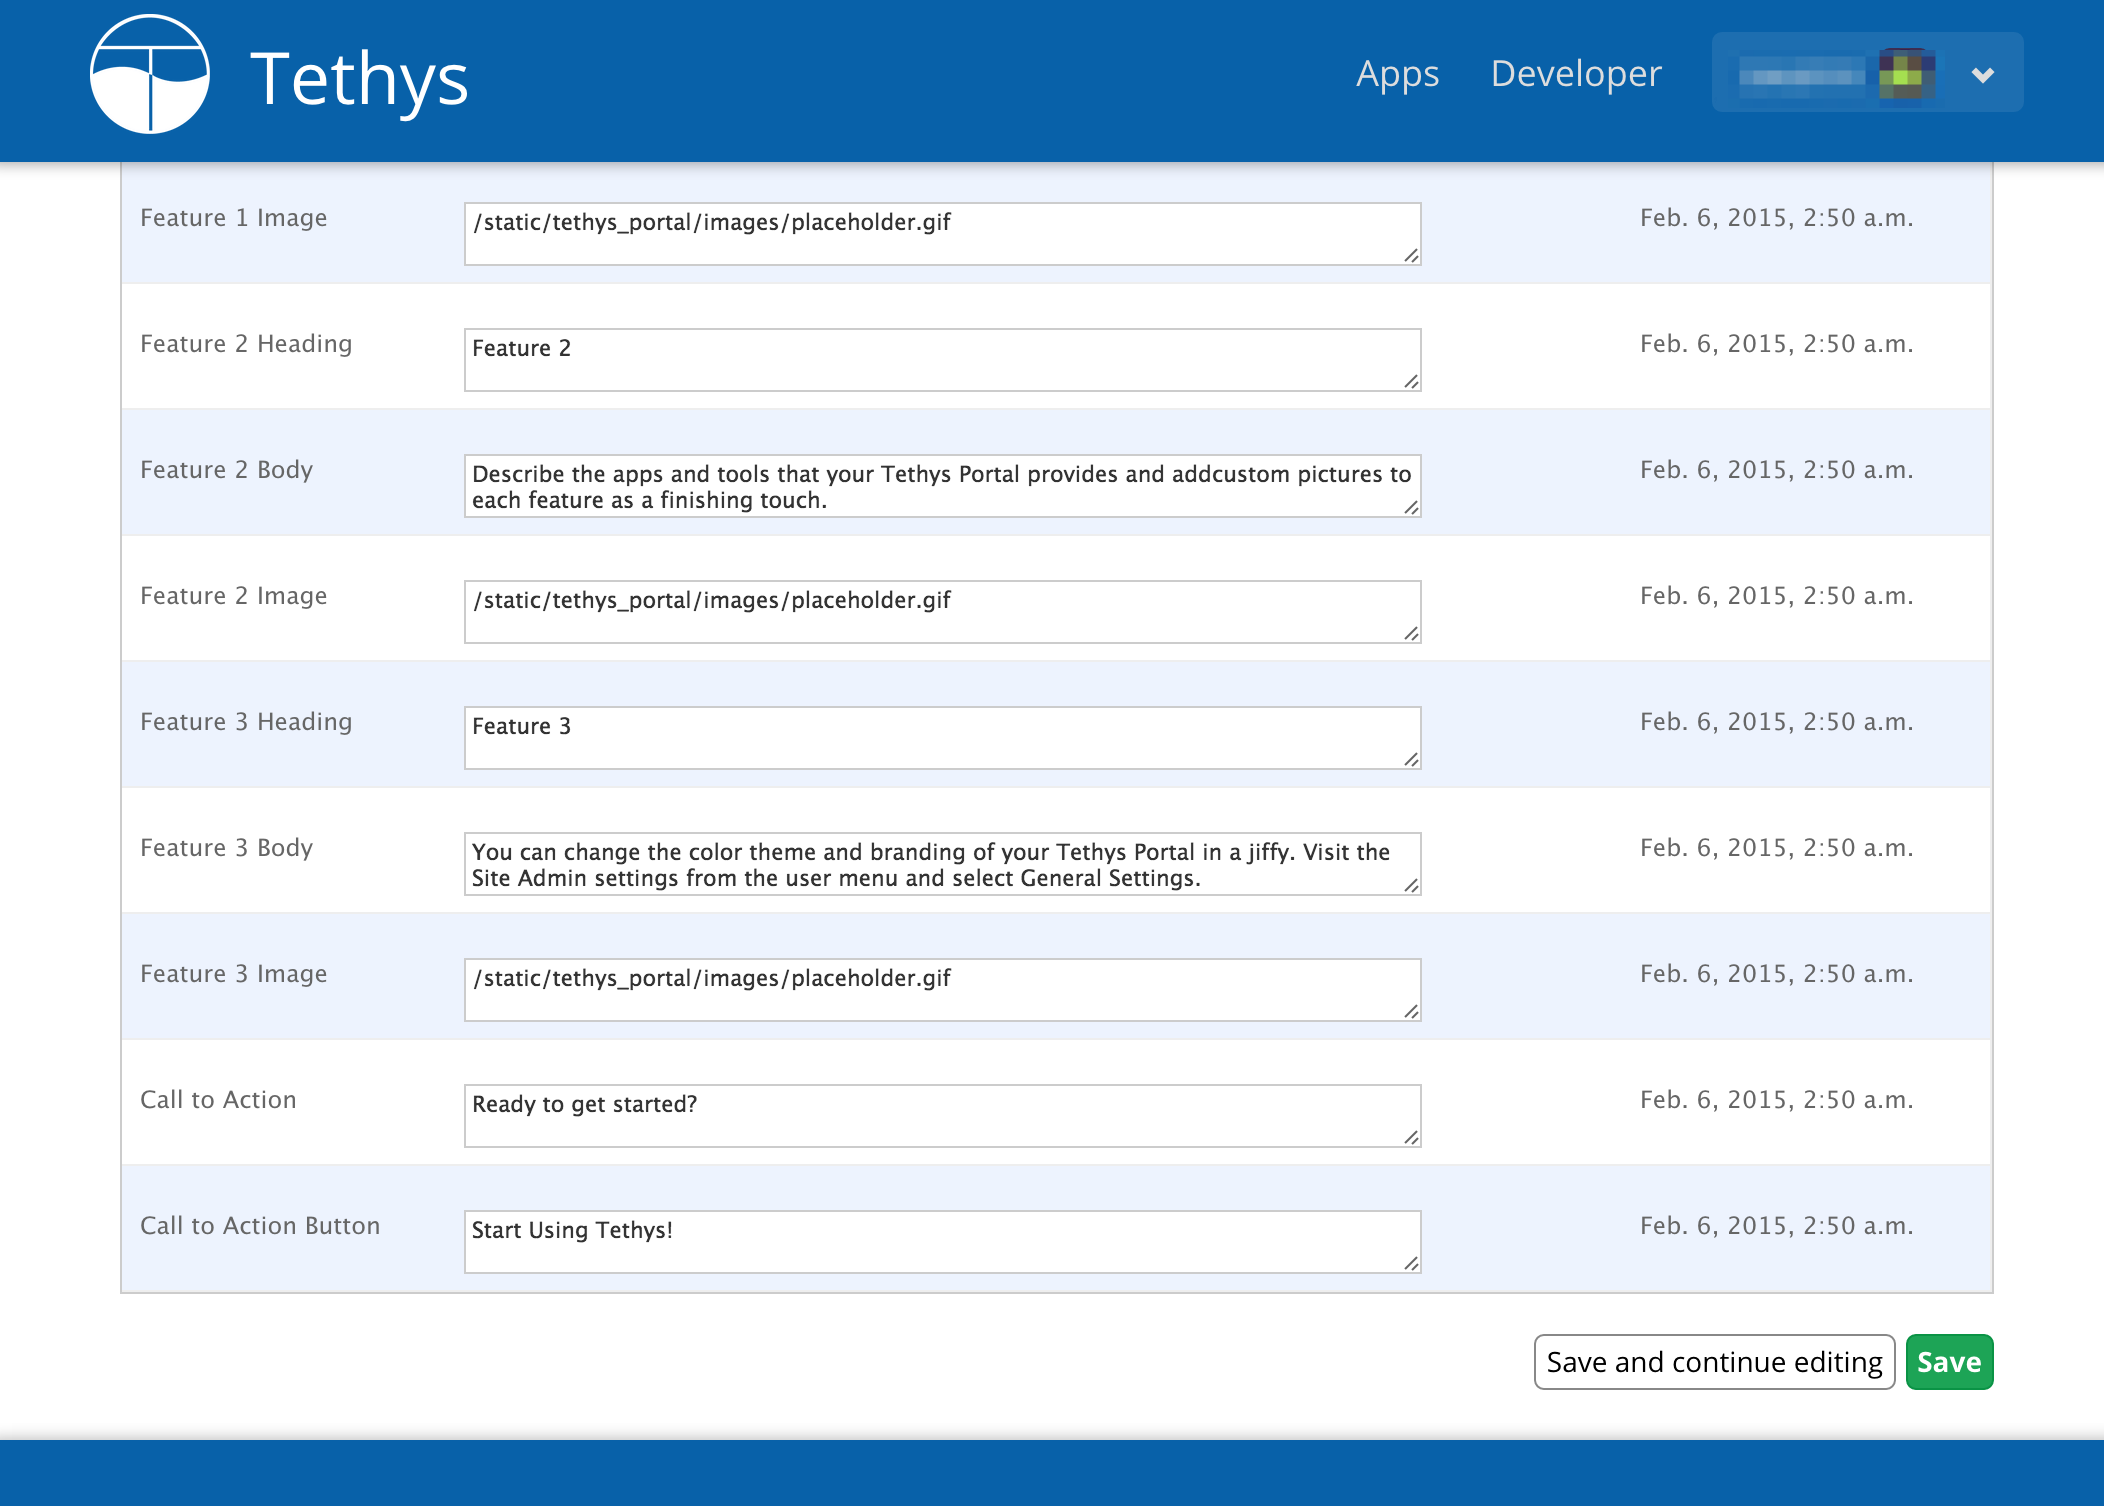
Figure 9. Home page settings for Tethys Portal.
Tip
For more information on customizing the Tethys Portal see the Customize documentation.
Tethys Services
The links under the TETHYS SERVICES heading can be used to register external services with Tethys Platform for use by apps and extensions. Use the Spatial Dataset Services link to register your Tethys Portal to GeoServer, the Dataset Services link to register to CKAN or HydroShare instances, the Web Processing Services link to register to WPS instances, or the Persistent Store Services link to register a database.
Tip
For detailed instructions on how to use each of these services in apps, refer to these docs: