Installation on Ubuntu 16.04
Last Updated: July 1, 2016
Warning
These installation instructions have been tested for Ubuntu 16.04 only. It is likely that you will encounter problems if you try to use these instructions on any other Linux distribution (e.g. RedHat, CentOS) or even other versions of Ubuntu.
Tip
To install and use Tethys Platform, you will need to be familiar with using the command line/terminal. For a quick introduction to the command line, see the Terminal Quick Guide article.
Also, check to make sure that your installation of Ubuntu = version 16.04. The following steps are likely not to work with other versions.
1. Install the Dependencies
- Install most of the dependencies via apt-get. Open a terminal and execute the following commands:
$ sudo apt-get update
$ sudo apt-get install python-dev python-pip python-virtualenv libpq-dev libxml2-dev libxslt1-dev libffi-dev git-core
You may be prompted to enter your password to authorize the installation of these packages. If you are prompted about the disk space that will be used to install the dependencies, enter Y and press Enter to continue.
2. Install Docker
Docker needs to be installed to install the Tethys Software Suite. These instructions are adapted from the Installation on Ubuntu Docker tutorial and the How to Install and Use Docker on Ubuntu 16.04 Digital Ocean tutorial.
- Add the GPG key for the official Docker repository:
$ sudo apt-key adv --keyserver hkp://p80.pool.sks-keyservers.net:80 --recv-keys 58118E89F3A912897C070ADBF76221572C52609D
- Add the Docker repository to APT sources:
$ echo "deb https://apt.dockerproject.org/repo ubuntu-xenial main" | sudo tee /etc/apt/sources.list.d/docker.list
- Update APT sources again and install Docker engine:
$ sudo apt-get update
$ sudo apt-get install -y docker-engine
- Add your user to the Docker group. This is necessary to use the Tethys Docker commandline tools. In a command prompt execute:
$ sudo gpasswd -a ${USER} docker
$ sudo service docker restart
$ gnome-session-quit --logout
- Select log out and then log back in to make the changes take effect.
Important
DO NOT FORGET PART E! Be sure to logout of Ubuntu and log back in before you continue. You will not be able to complete the installation without completing this step.
Warning
Adding a user to the Docker group is the equivalent of declaring a user as root. See Giving non-root access for more details.
3. Create Virtual Environment and Install Tethys Platform
Python virtual environments are used to create isolated Python installations to avoid conflicts with dependencies of other Python applications on the same system. The following commands should be executed in a terminal.
Create a Python virtual environment and activate it:
$ sudo mkdir -p /usr/lib/tethys
$ sudo chown `whoami` /usr/lib/tethys
$ virtualenv --no-site-packages /usr/lib/tethys
$ . /usr/lib/tethys/bin/activate
Hint
You may be tempted to enter single quotes around the whoami directive above, but those characters are actually grave accent characters: `. This key is usually located to the left of the 1 key or in that vicinity.
Important
The final command above activates the Python virtual environment for Tethys. You will know the virtual environment is active, because the name of it will appear in parenthesis in front of your terminal cursor:
(tethys) $ _
The Tethys virtual environment must remain active for the entire installation. If you need to logout or close the terminal in the middle of the installation, you will need to reactivate the virtual environment. This can be done at anytime by executing the following command (don’t forget the dot):
$ . /usr/lib/tethys/bin/activate
If you get tired of typing . /usr/lib/tethys/bin/activate to activate your virtual environment, you can add an alias to your .bashrc file:
$ echo "alias t='. /usr/lib/tethys/bin/activate'" >> ~/.bashrc
Close your terminal window and reopen it to effect the changes. Now, to activate your virtual environment all you have to do is use the alias t:
  $ t
(tethys) $ _
Install Tethys Platform into the virtual environment with the following command:
(tethys) $ git clone https://github.com/tethysplatform/tethys /usr/lib/tethys/src
Tip
If you would like to install a different version of Tethys Platform, you can use git to checkout the tagged release branch. For example, to checkout version 1.0.0:
$ cd /usr/lib/tethys/src
$ git checkout tags/1.0.0
For a list of all tagged releases, see Tethys Platform Releases. Depending on the version you intend to install, you may need to delete your entire virtual environment (i.e.: the /usr/lib/tethys directory) to start fresh.
Install the Python modules that Tethys requires:
(tethys) $ pip install --upgrade -r /usr/lib/tethys/src/requirements.txt
(tethys) $ python /usr/lib/tethys/src/setup.py develop
Restart the Python virtual environment:
(tethys) $ deactivate
         $ . /usr/lib/tethys/bin/activate
4. Install Tethys Software Suite Docker Containers
Execute the following Tethys commands using the tethys Command Line Interface to initialize the Docker containers:
(tethys) $ tethys docker init
You will be prompted to enter various parameters needed to customize your instance of the software. Take note of the usernames and passwords that you specify. You will need them to complete the installation.
Tip
Running into errors with this command? Make sure you have completed all of step 2, including part c.
Occasionally, you may encounter an error due to poor internet connection. Run the tethys docker init command repeatedly. It will pick up where it left off and eventually lead to success. When in doubt, try, try again.
5. Start the Docker Containers
Use the following Tethys command to start the Database Docker container for the next steps:
(tethys) $ tethys docker start -c postgis
If you would like to test the Docker containers, see Test Docker Containers.
6. Create Settings File and Configure Settings
In the next steps you will configure your Tethys Platform and link it to each of the software in the software suite. Create a new settings file for your Tethys Platform installation using the tethys Command Line Interface. Execute the following command in the terminal:
(tethys) $ tethys gen settings -d /usr/lib/tethys/src/tethys_apps
This will create a file called settings.py in the directory /usr/lib/tethys/src/tethys_apps. As the name suggests, the settings.py file contains all of the settings for the Tethys Platform. There are a few settings that need to be configured in this file.
Note
The usr directory is located in the root directory which can be accessed using a file browser and selecting Computer from the menu on the left.
Open the settings.py file that you just created (/usr/lib/tethys/src/tethys_apps/settings.py) in a text editor and modify the following settings appropriately.
- Run the following command to obtain the host and port for Docker running the database (PostGIS). You will need these in the following steps:
(tethys) $ tethys docker ip
- Replace the password for the main Tethys Portal database, tethys_default, with the password you created in the previous step. Also make sure that the host and port match those given from the tethys docker ip command (PostGIS). This is done by changing the values of the PASSWORD, HOST, and PORT parameters of the DATABASES setting:
DATABASES = {
  'default': {
      'ENGINE': 'django.db.backends.postgresql_psycopg2',
      'NAME': 'tethys_default',
      'USER': 'tethys_default',
      'PASSWORD': 'pass',
      'HOST': '127.0.0.1',
      'PORT': '5435'
      }
}
Find the TETHYS_DATABASES setting near the bottom of the file and set the PASSWORD parameters with the passwords that you created in the previous step. If necessary, also change the HOST and PORT to match the host and port given by the tethys docker ip command for the database (PostGIS):
TETHYS_DATABASES = {
    'tethys_db_manager': {
        'NAME': 'tethys_db_manager',
        'USER': 'tethys_db_manager',
        'PASSWORD': 'pass',
        'HOST': '127.0.0.1',
        'PORT': '5435'
    },
    'tethys_super': {
        'NAME': 'tethys_super',
        'USER': 'tethys_super',
        'PASSWORD': 'pass',
        'HOST': '127.0.0.1',
        'PORT': '5435'
    }
}
Setup social authentication
If you wish to enable social authentication capabilities for testing your Tethys Portal, follow the Social Authentication instructions.
- Save your changes and close the settings.py file.
7. Create Database Tables
Execute the following command to initialize the database tables:
(tethys) $ tethys manage syncdb
8. Create a Superuser
Create a superuser/website administrator for your Tethys Portal:
(tethys) $ tethys manage createsuperuser
9. Start up the Django Development Server
You are now ready to start the development server and view your instance of Tethys Platform. The website that ships with Tethys Platform is called Tethys Portal. In the terminal, execute the following command to start the development server:
(tethys) $ tethys manage start
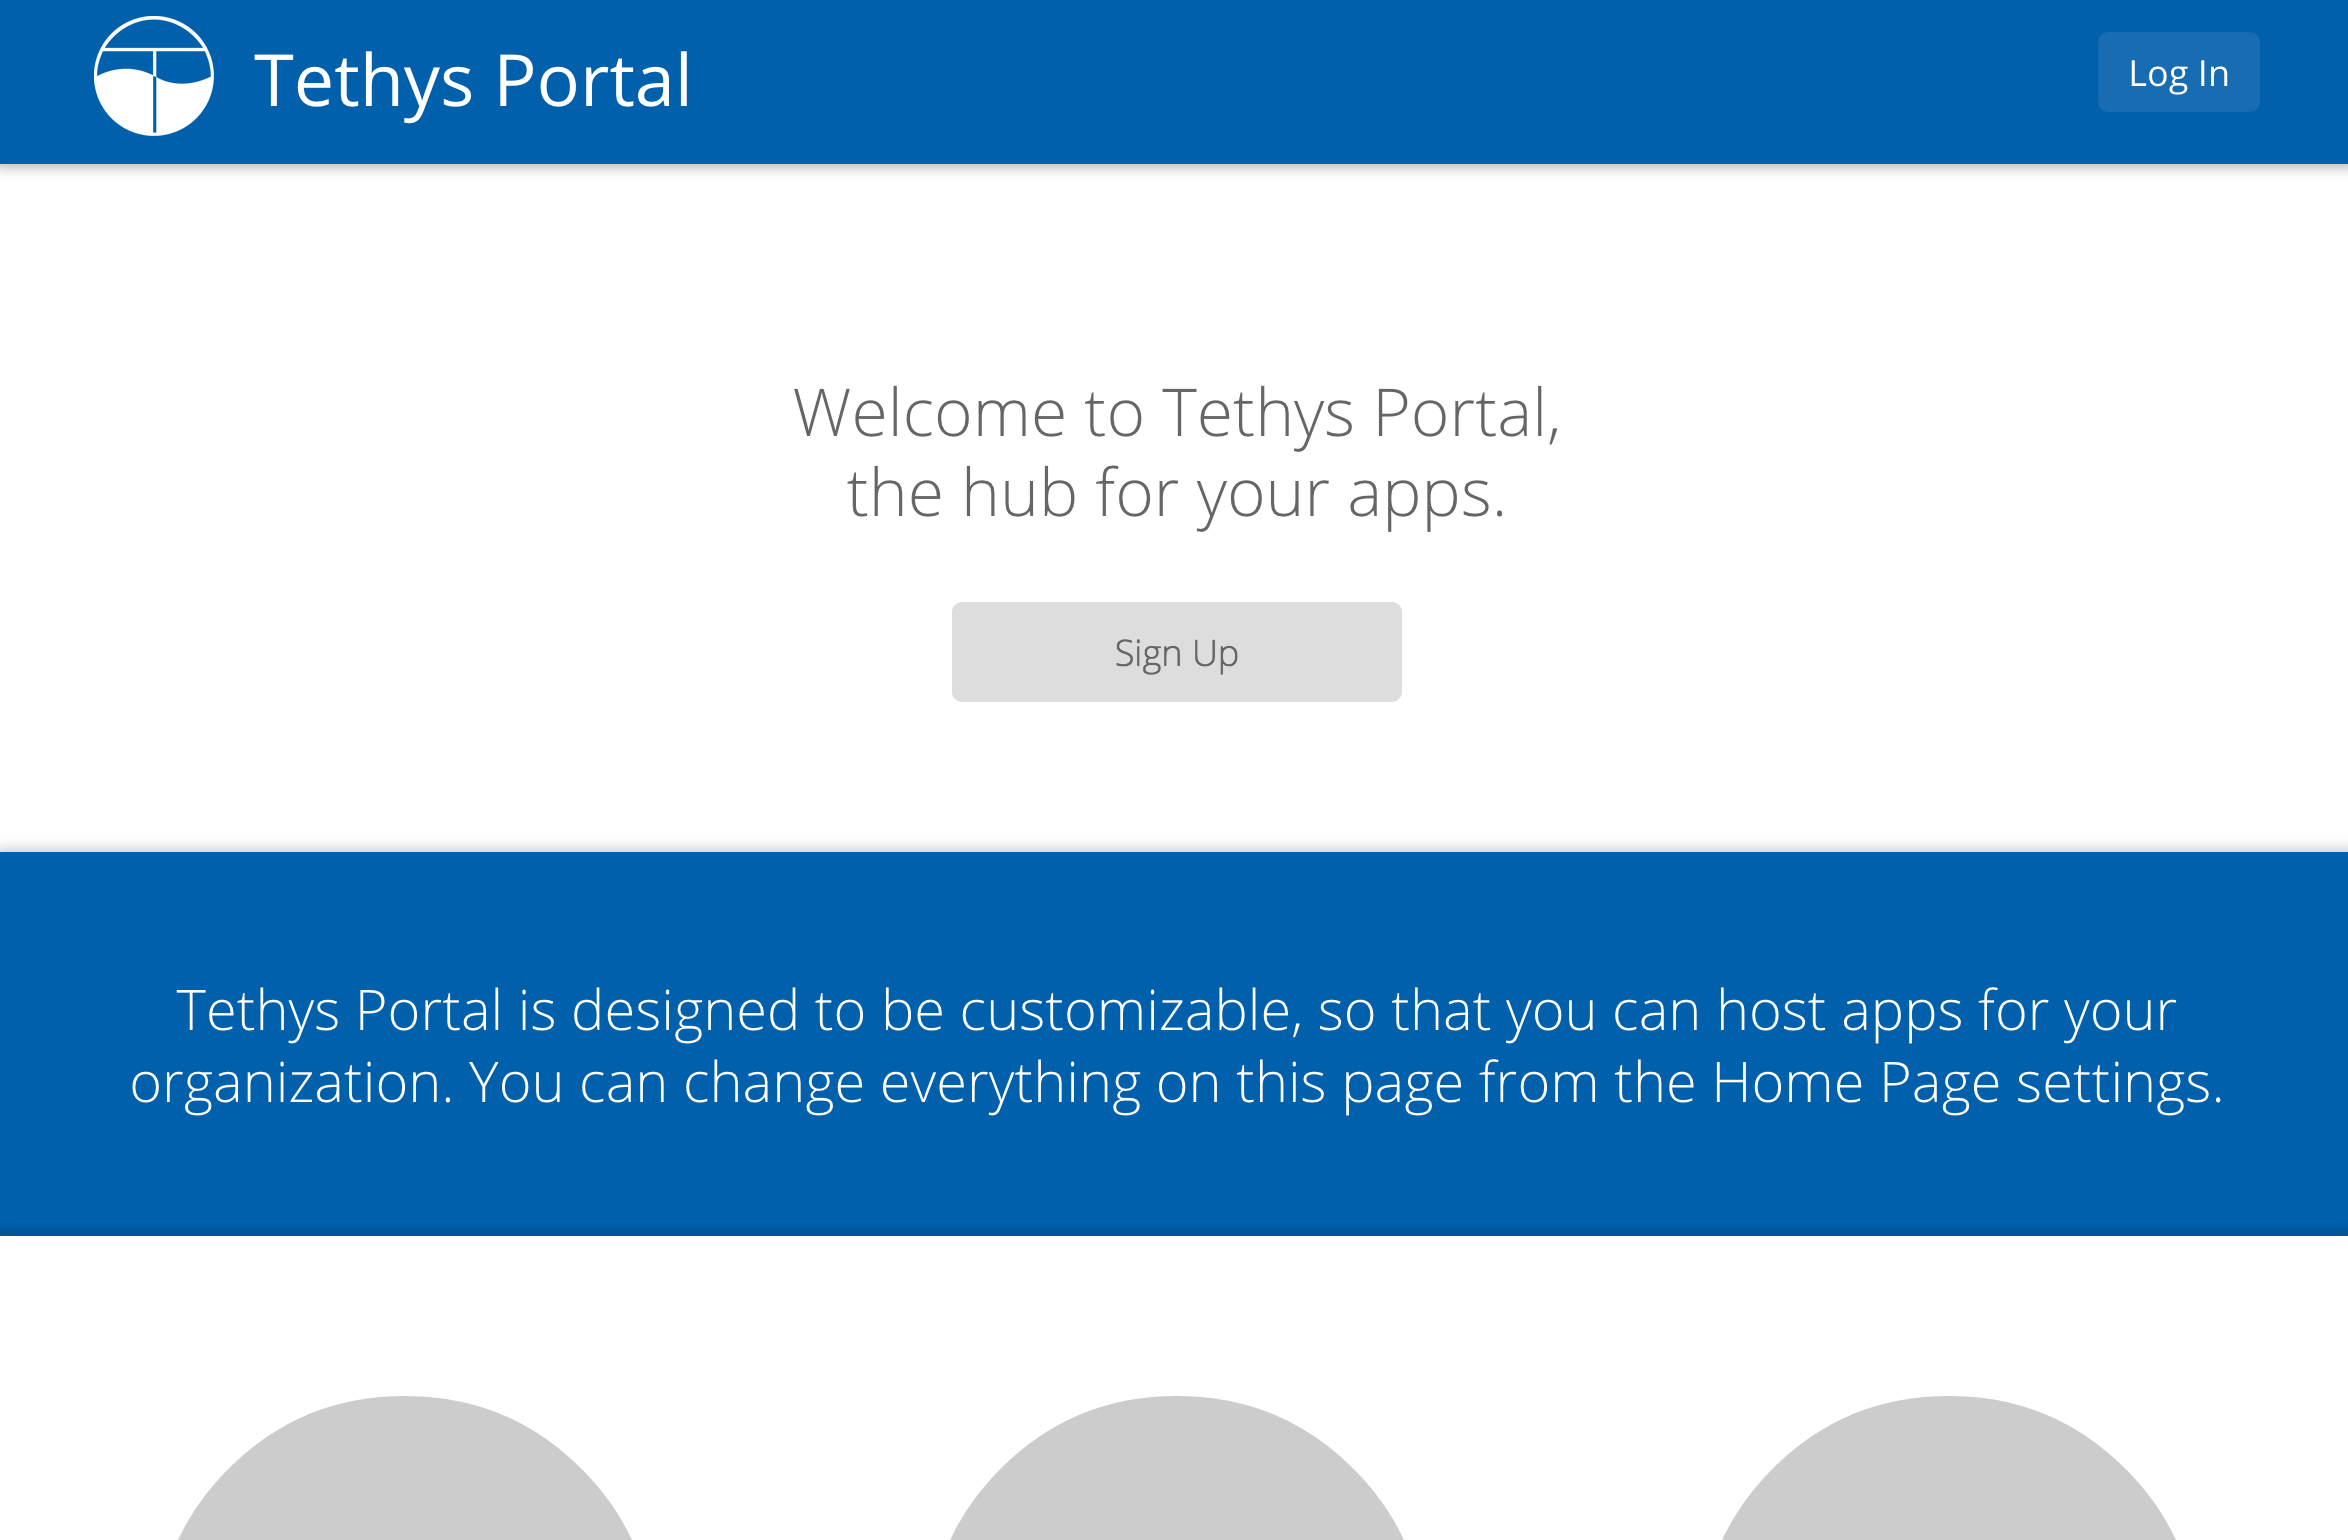
Open http://localhost:8000/ in a new tab in your web browser and you should see the default Tethys Portal landing page.
9. Web Admin Setup
You are now ready to configure your Tethys Platform installation using the web admin interface. Follow the Web Admin Setup instructions to finish setting up your Tethys Platform.